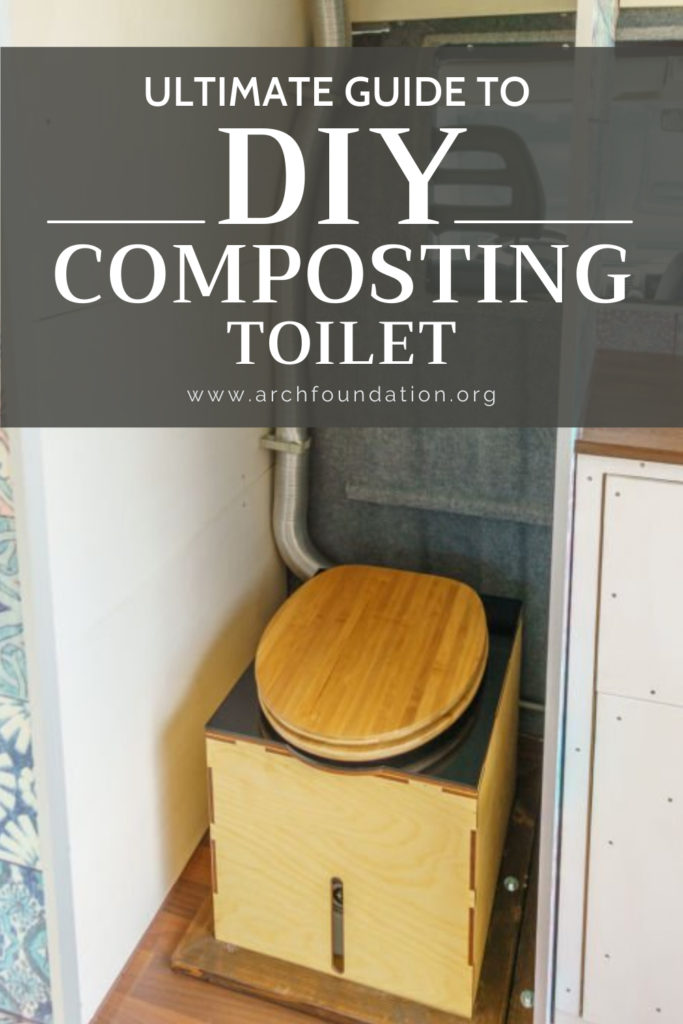
Ultimate Guide to DIY Composting Toilet: Edition
Are you looking for ways to create a DIY composting toilet for your backyard use? With a big backyard at my disposal, I had a lot of time during the pandemic to try something new, and the idea of a DIY composting toilet caught my attention.
Knowing the right way to create a durable composting toilet can be effectively beneficial in situations that demand surviving in the toughest scenarios.
A DIY composting toilet can be a great option for people like me that love to save some extra bucks on the energy bills & reduce the environmental impact as a long-term goal. While using a composting toilet might seem too extreme for some, it opens up several possibilities in the long haul.
So, before I teach you the steps to create a DIY composting toilet, you need to first understand exactly what it is!
Composting Toilet: What is it?
Let me be straight here. A DIY composting toilet isn’t an outhouse. So, you don’t have to worry about any smell taking over the area. Moreover, it doesn’t pollute the environment. As someone who is closer to nature, I love the idea of a compost toilet that turns the waste into a beneficial resource.
The basics of a DIY toilet (compost) include:
- Human waste
- Crushed leaves
- Sawdust
- Wood ash
- Straws
All these elements together are composted in high heat created by the presence of straw that kills the potential pathogens. As the process ends, all that is left is smell-free, hygienic, and clean compost.
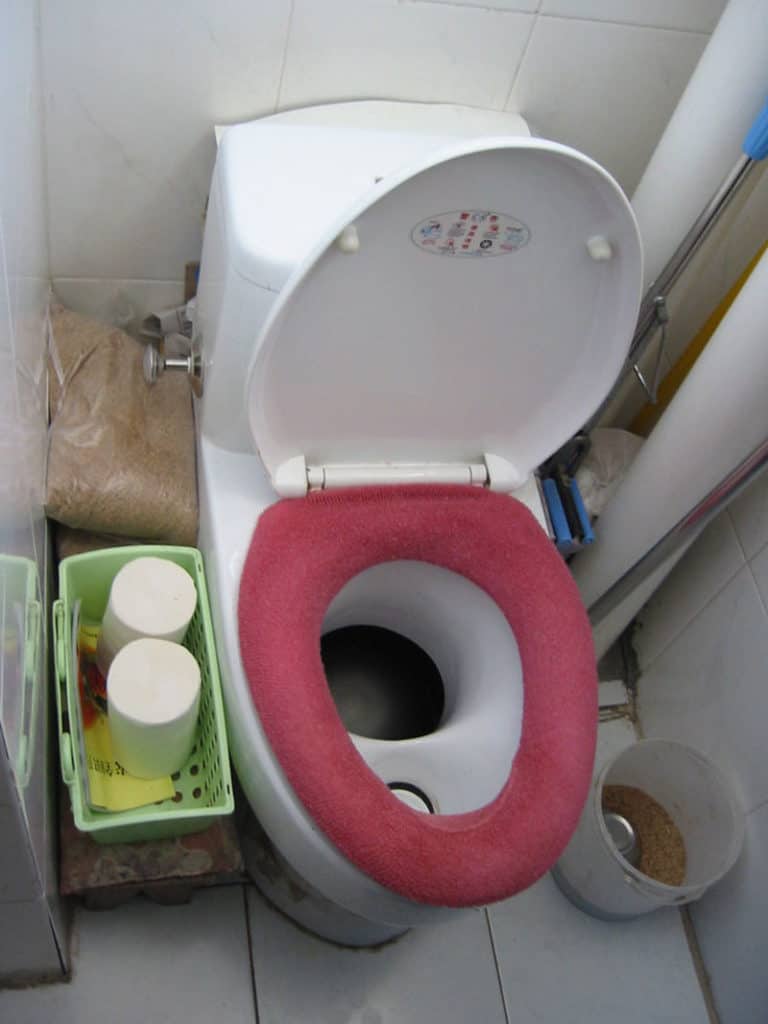
Building a Handmade Composting Toilet
At first, creating the composting toilet seemed pretty simple to me. However, in the process, I learned a lot that only comes with experience.
So, let me provide you with a rundown of the steps that would help you create the best composting toilet.
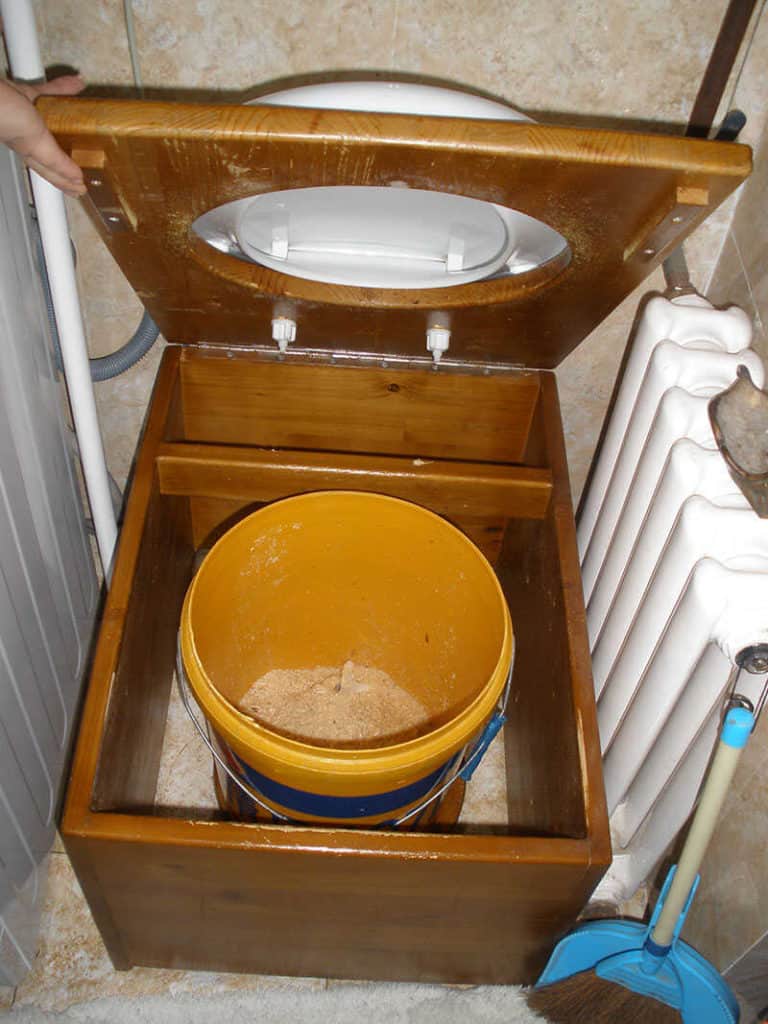
To start with, bring together all your supplies. Take 2 buckets of five-gallon each. Both should be of the same height. Next, get four plywood pieces to create legs. Apart from this, you also need to have a durable toilet seat along with the necessary hardware.
Next, get a plywood piece that is larger than the toilet seat & 8 screws. Cut a hole into the plywood piece that is similar to the size of your buckets. Next, line the toilet seat on the hole created by you. Next, mark the area you plan on drilling holes in the toilet hardware. Once you have marked the area, drill the holes.
Now, screw in the legs on each corner of the plywood. Align the frame to check if there are any inconsistencies. Attach your toilet seat by placing it into the plywood and screwing it together. Place one of the buckets into the hole in the plywood and ensure it fits tight.
Once you are sure that the bucket isn’t moving, start by covering the base with materials such as sawdust. Now, it is ready for use!
This was one way to create a DIY composting toilet. Are you wondering how else you can create a handmade composting toilet?
You should see the video below:
Using the Handmade Composting Toilet
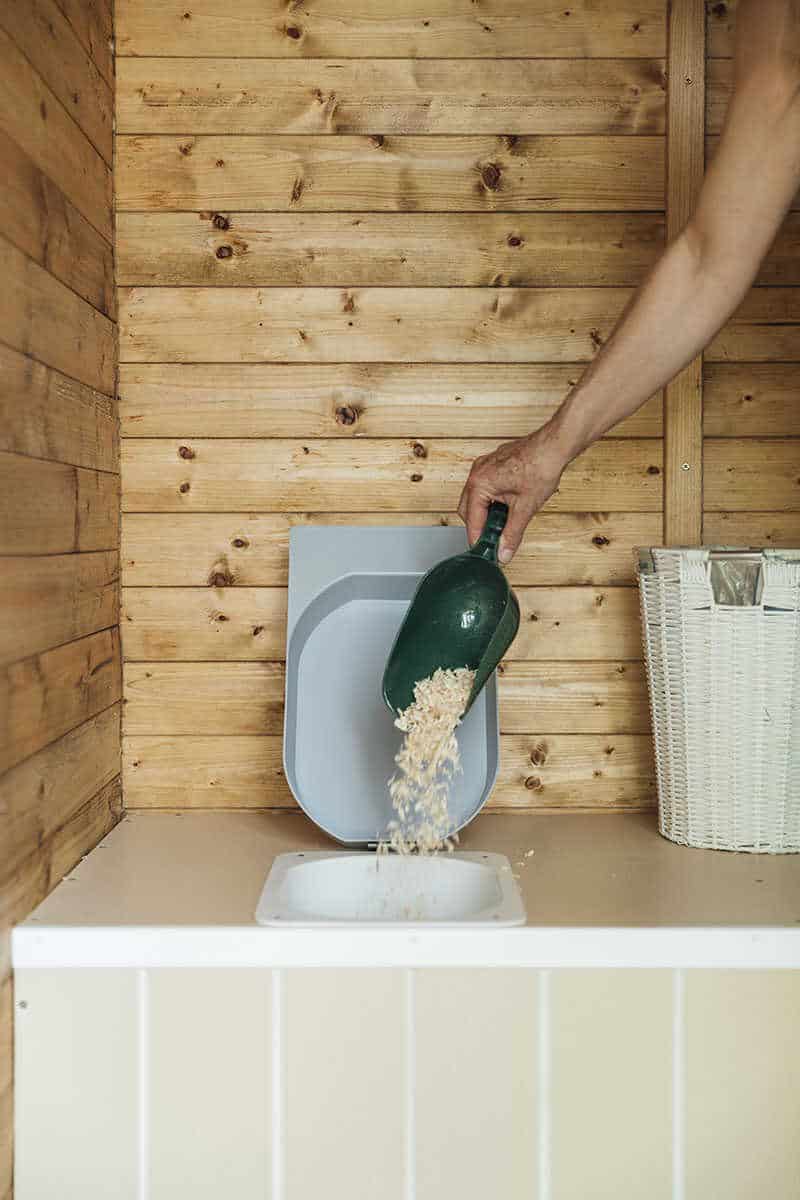
After the preparation is completed, you need to ensure that the materials within the bucket cover at least a few inches in the base. Use it like any normal toilet in your house.
Once you are done with your business, you don’t have to flush it. Simply cover the excreted material with sawdust, leaves, and other dry materials. Ensure that it completely covers the excrement.
The best material for this toilet is sawdust because of its absorbent feature and fine texture. However, a couple of my friends have suggested that using dried, crushed leaves or peat moss also works well. You can opt for any depending on availability.
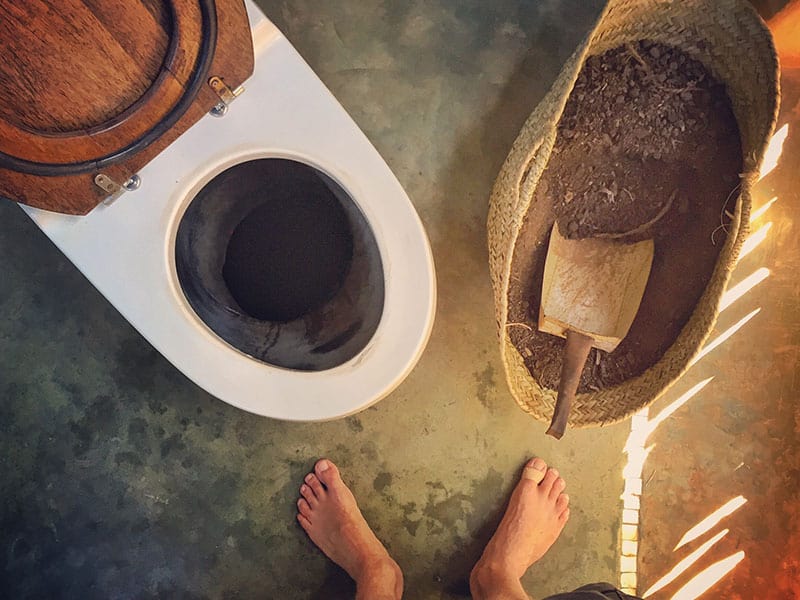
In my case, two materials gave the best results. The first was sawdust, and the second was wood ash that can be obtained from the wood-burning stove in your house. Once the first bucket is packed to the brim, remove it and then replace it with the second bucket.
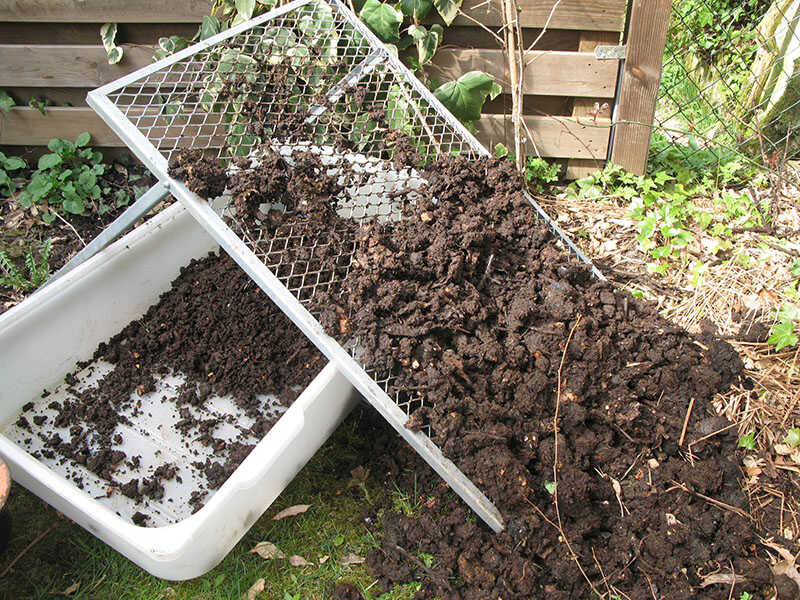
Finally, empty the content of the first bucket in the outdoor composting trash can.
An idea that works best with these composting toilets is to opt for 3 buckets. The first one can be used for your daily requirements, the second left to be cured for a minimum of 1 year, while the 3rd can be used for harvesting the final compost.
To ensure that the nitrogen and carbon levels in the compost are balanced, you need to ensure that lots of dry material is added to it. I used a good amount of straw to get the job done. Once the bin reaches the brim, let it cure for 1 year.
If you plan on using the final compost for your garden or anything else, ensure that the core temperature of the material is 122 degrees minimum. This temperature should be maintained for 1 week or more if possible.
Doing this ensures that any potential pathogens present in the compost are destroyed.
In my case, the compost didn’t reach the suggested temperature due to the cold weather outside. So, I let it cure for another year for safety purposes. If you cannot wait for 2 years, it can still be used for orchards or non-food crops.
Everything about composting toilets and the best way to use it.
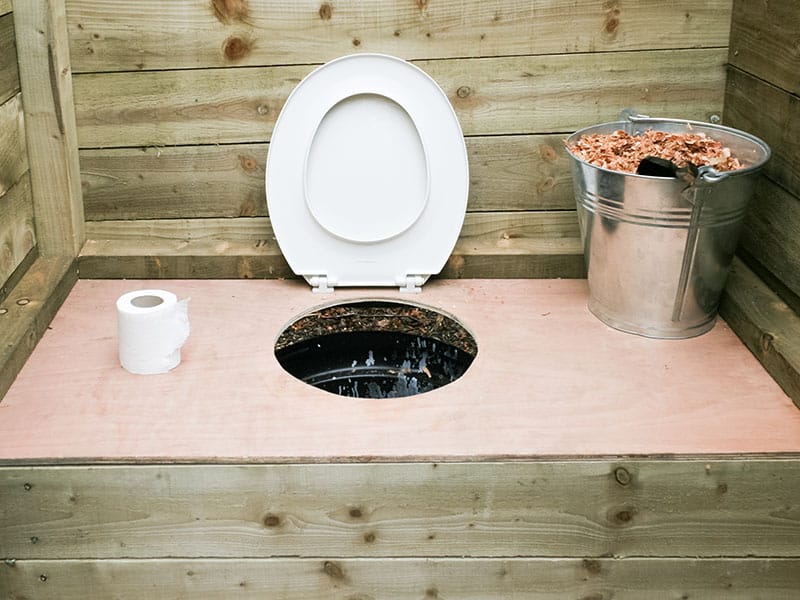
Using Toilet Paper in Your DIY Compost Toilet
You might have been wondering if one can put toilet paper inside the bin after using it. Given that paper is an organic material, it can be ideal for use as a covering material. In addition, it helps extract the liquids & aids in the composting process by speeding it.
Keep in mind that the material of the toilet paper also matters. Certain toilet paper brands break down faster as compared to others. If your toilet paper is very thick, it will obviously break down slowly as compared to the thinner variants.
Apart from this, the inks or dyes used for the process can also delay or fasten the decaying process in the compost.
However, simply putting toilet paper doesn’t work. You need to put in sawdust, dry leaves, and straws to speed up the process. Solid waste tends to decompose faster as compared to paper. So, you might still see bits and pieces of paper while other components have already decomposed.
Watch this video to know more:
Dealing with Liquids in the Composting Toilet
When creating the composting toilet, the major concern I had to deal with was ensuring that there was minimal liquid in the bin. If your house has more people using the bin, you might have to deal with excess liquid that can adversely affect your pile.
This is especially true if it has been used for urinating as opposed to simply being used for feces. It can adversely affect your pile, slow down the breakdown process, and even cause smell to linger in the area.
Here is how you can ensure that the composting happens in a glitch-free manner.
Check the Exhaust Fan:
To keep your compost completely dry, make sure the room has an exhaust fan. So, how does the exhausting fan help? If your exhaust fan keeps operating continuously, it can help evaporate any excess liquid present in the composting pile.
If the fan isn’t running 24X7, there might be a chance that the liquid in your compost isn’t evaporating properly. So, check the connections to ensure there isn’t any power failure or short circuit issue.
Remember, the air is important for your waste to break down completely. So, keep the bin aerated as much as possible.
Consider the Use of a Pedestal for Diverting the Urine:
The best way to keep unwanted liquid away from the handmade composting unit is to place a pedestal to divert the urine. The pedestal can help divert the liquid to a different area which would avoid the interaction of the compost and the urine. It will ensure faster and better composting of the solid waste.
Should Your DIY Composting Unit be Completely Dry?
You might feel tempted to bring down the liquid level in the composting toilet. However, what you might not realize is that it does more harm to the entire process. The rule of composting states that some liquid is necessary to aid the composting procedure.
So, if you aren’t adding any urine to the system, it is better to add some form of liquid to the mix. You can easily tell if the composting pile lacks enough liquid by checking the breakdown of the toilet paper used by you.
If the paper and other components of the bin seem too dry, they won’t mix well, and decomposition won’t occur properly. The best way is to use the bin for urination every now and then to maintain the liquid content. Make sure you don’t overdo it!
What Are The Benefits Of Using A Composting Toilet?
Now, why should you consider going old school and let go of the comfort that modern technology brings you? Well, there are several benefits of using a composting toilet, especially if you are an environment enthusiast. So let’s check out the reasons that compel you to try this idea at least once in your life:
1-No Need for Water:
When using a composting toilet, there is no need for flushing, simply clean yourself with toilet paper and dump it all in the bucket. Then, cover the waste with a thick layer of materials such as sawdust, straws, dried leaves, or wood ash.
As per Statista, an average of 24 percent of water used by a U.S. resident is wasted in flushing the toilets. Moreover, 80% of Americans tend to rely on wastewater treatment methodologies to ensure a surplus supply of water.
However, in case the water isn’t treated well, it can lead to a range of health issues. Apart from this, the wastewater released into the environment can be a major contributor to pollution levels.
In short, you are contributing to the betterment of the environment while reducing the wastage of water in the long run.
2-No Sewage Pollution:

Wastewater treatment units process the water from businesses and homes that contain phosphorus and nitrogen coming from food, human waste, detergents, & certain soaps. So the sewage system can become an indisputable source of pollution when it isn’t maintained the right way.
Moreover, the water can also get to the local rivers and seas, contributing to phosphorus and nitrogen pollution. Given that you would rely on the composting toilets, you do not contribute to sewage pollution in any way.
3-Low Cost Solution:
A composting toilet is no doubt a low-cost solution that saves your water bills in the long run. It can be created from existing supplies available in your house without a dime to be invested. Even if you have to get the supplies from your local store, they won’t cost as much.
Quick process for creating a cheap and effective DIY composting toilet.
4-No Odor:

When done right, a DIY composting toilet won’t release any smell in the area it is kept. However, it would require a bit of practice and careful assessment of the decomposing conditions. Follow the above-mentioned steps to the T, and your composting toilet would be free of any smell.
5-As Quiet As It Can Be:
A handmade composting is ideal for someone who isn’t out and proud of the flushing noise that comes with each relieving session in the bathroom. Instead, you simply need to be done with your business and cover the excrement with a layer of composting materials.
6-Less Cleaning Required:
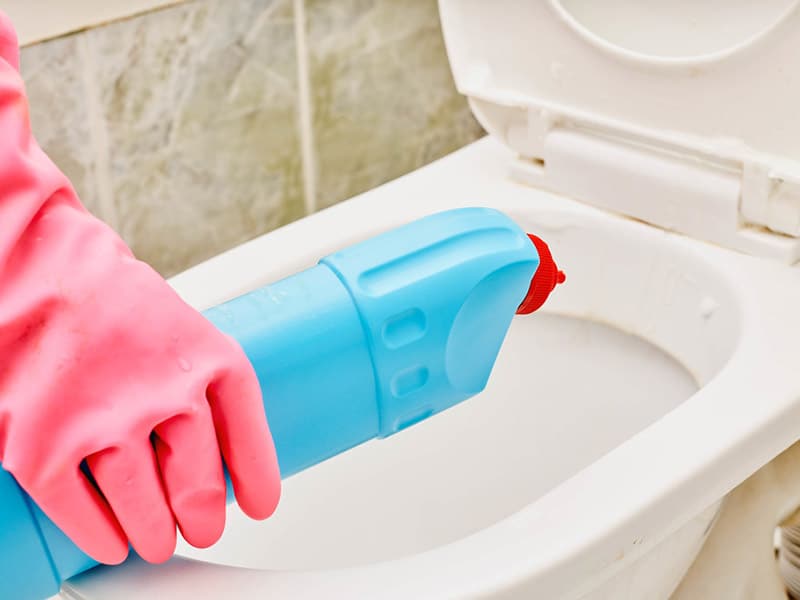
When you use normal toilets, it is required to be cleaned in and out. This requires you to use cleaning solutions and chemicals. These cleaning agents can have harsh chemicals and VOCs that might affect your health in the long run.
In addition, when these chemicals come in contact with your skin, they can damage or corrode the skin when used on a regular basis.
Plus, cleaning always requires the use of water. So, you save up a lot of precious water in the process.
7-Healthy Garden Compost:
When using a DIY toilet, you get the best out of waste. Your excrement, instead of going in the water bodies and local wastewater treatment unit, can be used in your garden for better crops and a healthy garden.
When done the right way, the excrement becomes safe for use in the garden. It enriches the crops and the lawn garden’s greenery.
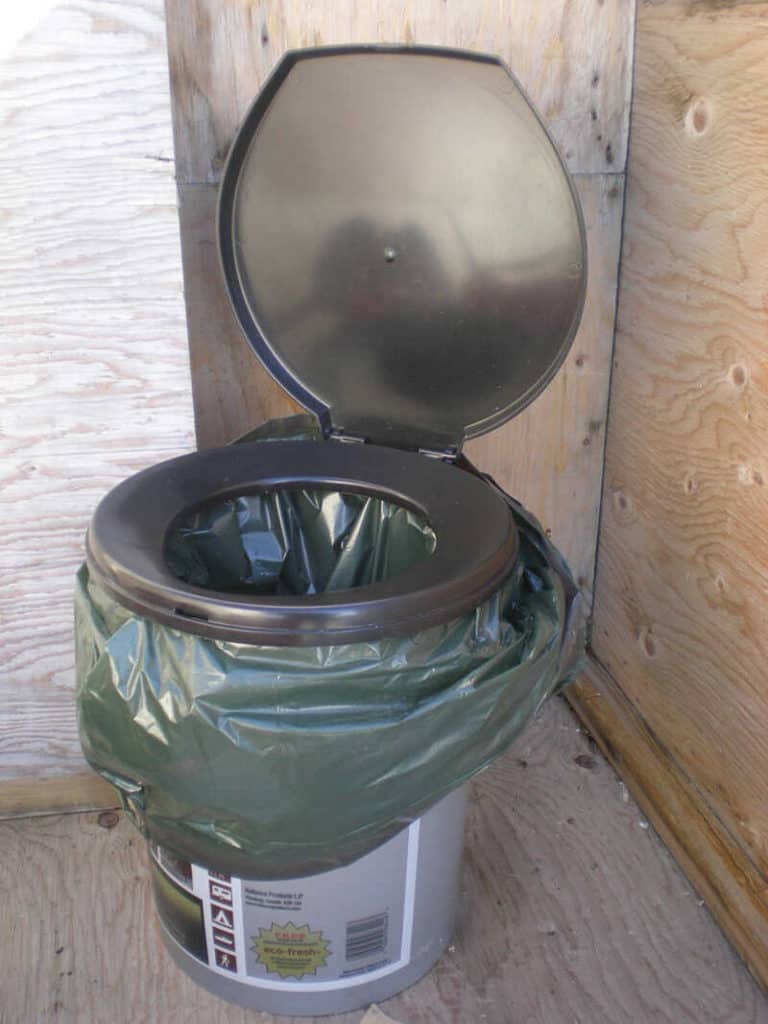
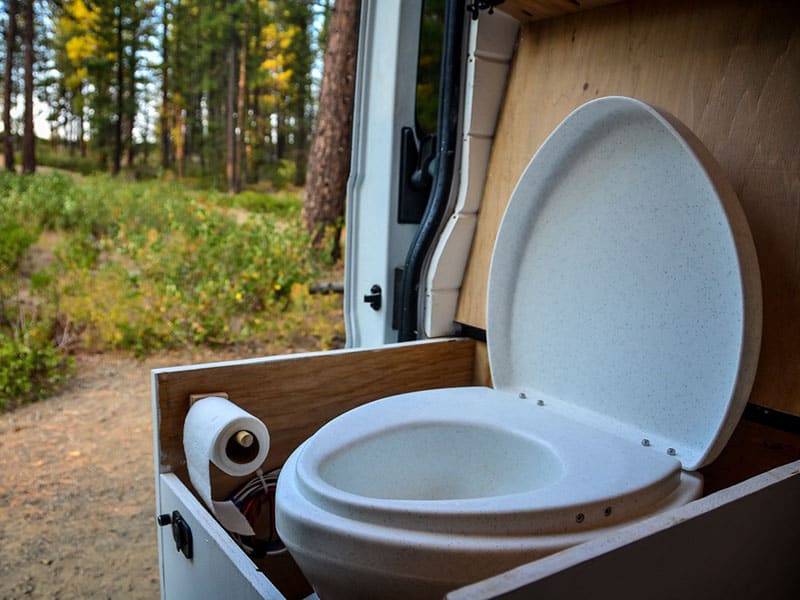
8-Ideal for Places Where Plumbing Isn’t Feasible:
If you are someone who loves to roam around in your recreational vehicle or spend a vacation in cabins, a handmade composting toilet is the best solution. Unfortunately, these spaces aren’t feasible for plumbing required for normal toilets that flush.
So, the only available option you can make do with is a composting one.
Things to Remember When Using a DIY Composting Toilet
Apart from these important pointers and benefits, you also need to keep in mind some factors that can make it easier to use a DIY composting toilet.
1-Keep the Heap Flat:
When using your composting toilet, it is important to ensure that the bucket components don’t form a pyramid shape, rather lay flat on the underlying components.
This helps reduce the surface area exposed to air and hence minimizes the heat loss. Additionally, the shape doesn’t allow the fresh excrement to roll down towards the heap’s base that isn’t hot enough for fast decomposing.
2-Always Aim for the Center:
The composting heap is the hottest in the center. So, make sure you don’t turn or mix the heap. Fresh material heats up fast and cools gradually as it is covered by more layers.
The layers in the lower level become stable with time & are colonized by worms, microorganisms, fungi, and insects that aid in the faster breakdown of waste material.
3-Add Both Feces and Urine:
While a lot of urine can surely be bad for the compost, as mentioned earlier, your compost needs the right amount of moisture to decompose the right way.
Therefore, the urine facilitates the faster decomposition of the compost and excrement. Plus, the higher nitrogen content in the urine helps balance out the carbon content in the wood.
I also tweaked up the nutrients in the compost by adding some dried-out kitchen waste such as used tea leaves, vegetable peels, etc. The key is to include as many organic materials as possible in the mix. Ultimately, you will end up with nutrition-rich compost that can be a gift to your garden.
Always use a pair of gloves when replacing the filled-up bucket with a new one. This helps avoid any cross-contamination that might happen in the process.
Remember, the composting process takes time, and you shouldn’t hasten it. The longer you allow it to decompose, the better it is minus the harmful micro-population.
Be the Change: Start Saving Water
Truth be told, it is high time that we start giving back to nature instead of mooching off natural resources. The freshwater available on our planet is a mere 3 percent. Out of this, only 1.2 percent is safe for drinking purposes.
With the degree of pollution being caused by wastewater treatment facilities, the numbers are now crunching, and a worldwide water crisis is not a far cry. So, start saving water today and be a part of the change.
Now that you know everything you need to know about DIY composting toilets – what are you waiting for? Explore the internet and find the best composting toilet for your home. And if you have any doubts, feel free to share them with me. Don’t forget to like, share, comment, and tell me how you like this guide.