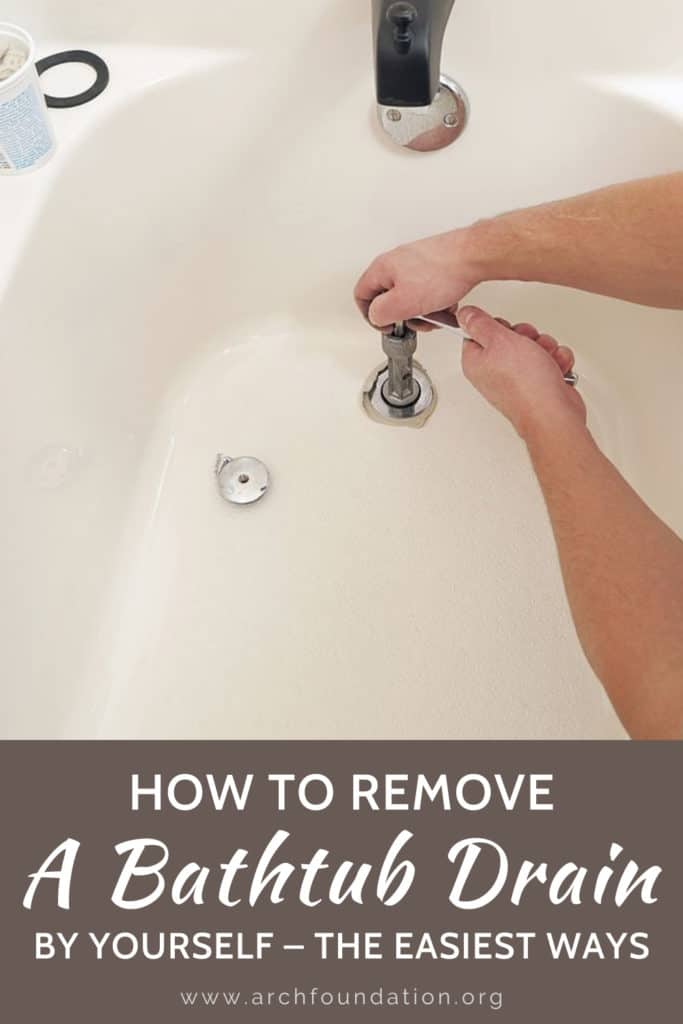
How To Remove A Bathtub Drain By Yourself – The Easiest Ways
Have you ever asked yourself how to remove the bathtub drain? Is it difficult? Should I call the plumber to avoid a mess? If such questions have sprung to your mind, this post is here to offer some help and save your money from paying the exorbitant maintenance cost.
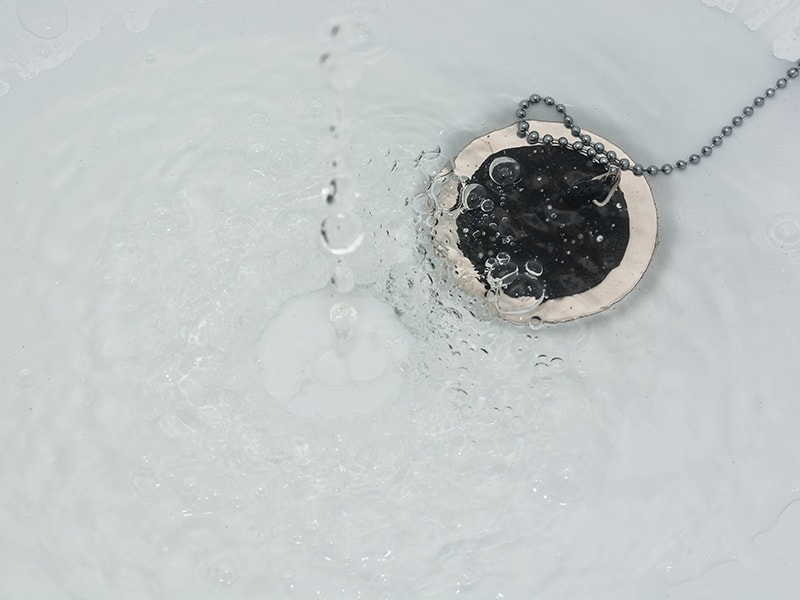
And by the way, did you know the bathtub drain is one of the dirtiest things on Earth? It’s where hair and debris accumulate, leading to blockage sometimes, so it’s a good idea to remove and clean it regularly. The process is much easier than you have imagined!
Remove A Bathtub Drain In Less Than 15 Minutes
Extracting a tub drain out of the hole should not take you more than 15 minutes, I can guarantee. The job is suitable for every beginner, so don’t be afraid to try it before considering calling a plumber.
In short, there are nine types of stoppers in use today, and they are all easy to remove:
- Toe-touch
- Flip-it
- Push-pull
- Lift-and-turn
- Pop-up
- Trip-lever
- PresFlo
- StopShroom
- StopShroom plug
Firstly, I’ll guide you through some prominent features of these stoppers. Let’s go!
Get To Know Nine Types Of Bathtub Drain
To your surprise, there are seven types of bathtub drains. They are varied by their looks and designs, yet they all serve the same purpose: allowing you to fill the tub to enjoy a hot bath after a long day and drain the water once you’re done.
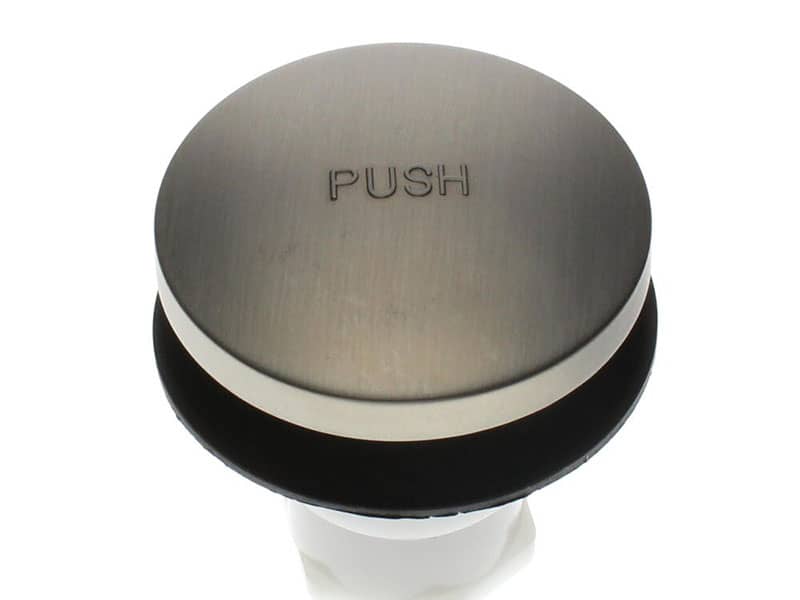
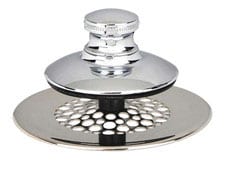
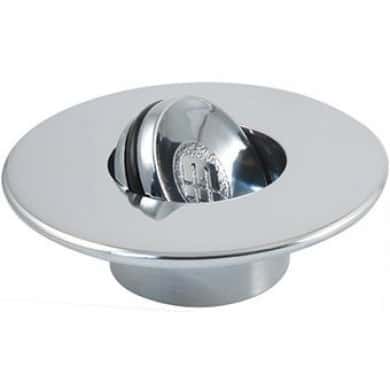
1. Toe-Touch (Foot-Lock)
Credit: Menards
You can guess how this tub drain works by the name of it. By touching your toe, it will open and close. It is very convenient and therefore commonly installed in residential bathtubs. It is flat and circular and comes with no knobs.
2. Flip-It
Credit: Renovators Supply
Easy to install and use, the flip-it drain comes with a togger level that opens and closes when moved from side to side. Thanks to the O-rings, the water does not go down the drain as you switch it on the close side.
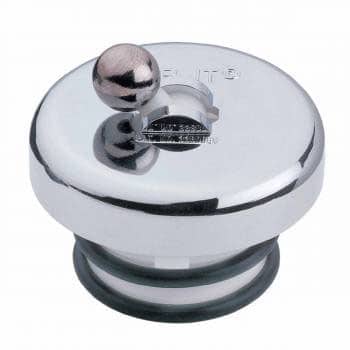
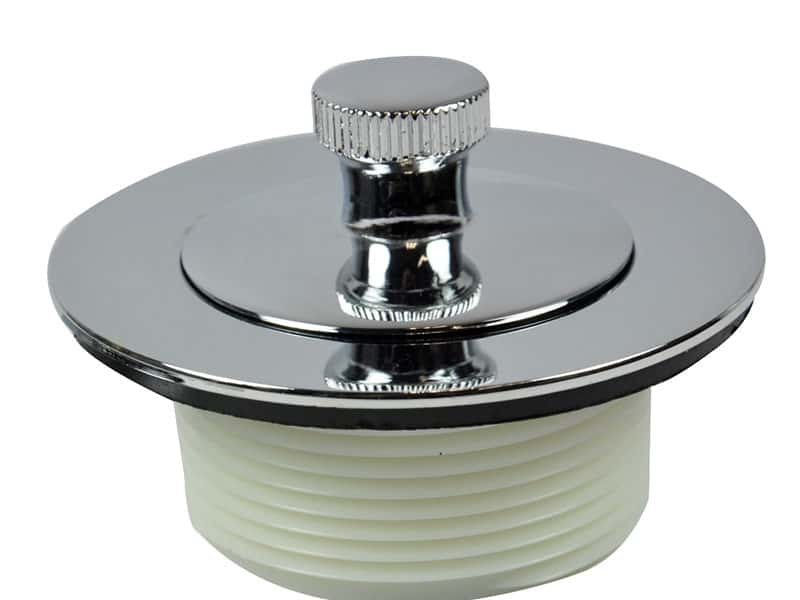
3. Push-Pull (Roller Ball)
Credit: Park Supply Of America, Inc
You know it’s a push-pull stopper when there’s a knob on the top. When you push it down, the stopper closes, and it opens when pulled up. It’s that simple.
4. Lift-And-Turn
Credit: Danco
Similar to the push-pull, this tub drain comes with a knob on the top as well. It is opened by lifting and turning and closed by doing the same thing in the reverse fashion.
5. Pop-Up
Credit: Magnus Home Products
Also commonly found in your bathroom sink, the pop-up tub drain also features a lever and an overflowing plate like the trip-lever style, so the two are operated in the exact mechanism.
The difference between them is that the stopper is visible and cannot be covered by a strainer. Due to its complex design, more hair and debris are caught. As a result, the cleaning process is more complicated since you have to take out all the parts.
6. Trip-Lever
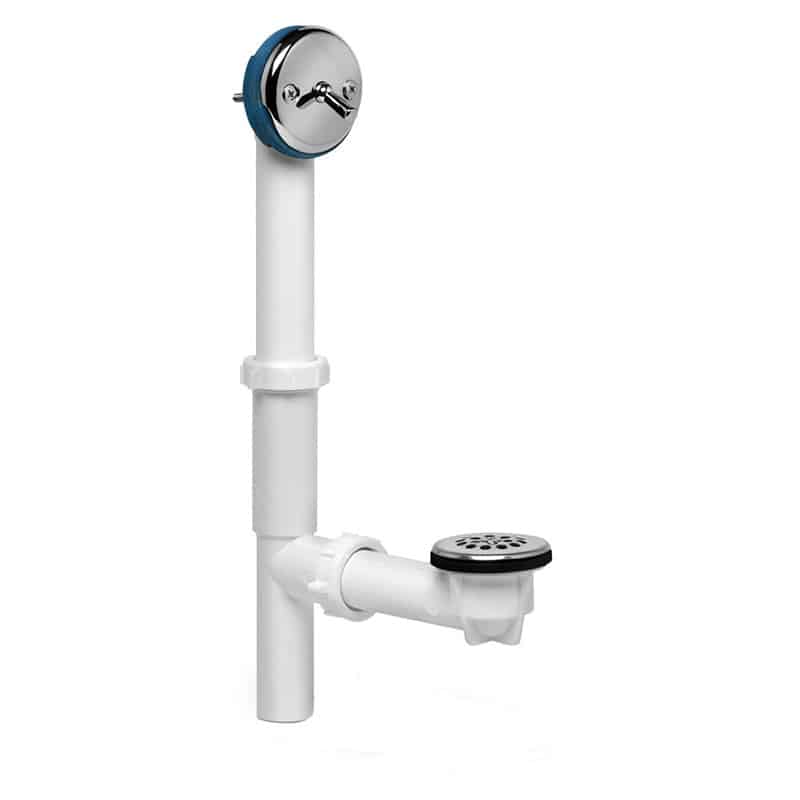
Credit: BR Supply Inc
Since this type of stopper comes with a lever, the removal process would be pretty challenging. The lever is attached to an overflowing plate in front of the tub. In the drain opening, a strainer stands in for a visible pop-up stopper.
You can find a connecting rod in the pipe attached to a spring at the end that moves up and down, leading to upward and downward motions of the pivot arm connected to the stopper. The tricky part is removing this arm.
Note: the trip-lever drain has a variant, which does not have a lever but instead a twist cover on the overflow plate. To open and close the stopper, you will have to rotate it left and right accordingly.
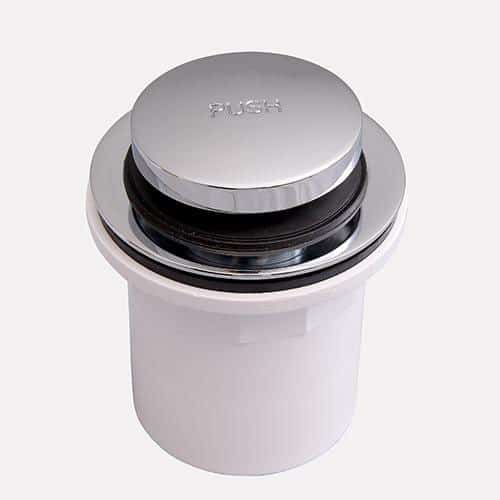
7. PresFlo
Credit: Fish Pond
PresFlo is not as common as the other types as it is designed for the disabled. There’s an O-ring inside that keeps the cover in place. When rotated, the drain will shut and stop the water from draining.
Note: When you purchase this type of stopper, it usually comes with a small suction cup. This is the specialized tool that you use to remove the stopper. Should you lose it, you can always grab another one from the local hardware store.
8. StopShroom
StopShroom looks like such a simple tool, but it is probably one of the most effective tub stoppers on this list. Not only does it create a super tight water seal, but it is also easy to install. The best part? No maintenance or repair is required!
9. StopShroom Plug
Like the previous stopper, installing this type of tub drain is plain sailing. It’s made entirely with durable silicone and comes with an immobile plug. To drain the water, hold this plug and pull it out.
When you want to use the tub, push the piece back into the hole. With such flexibility, you don’t have to break your back by cleaning the stopper or the drain regularly. It also saves you repair work – you cannot ask for something more amazing than this!
Why Do You Ever Need To Remove The Bathtub Drain?
After a while, the drain fitting will likely deteriorate. There will be extreme corrosion or leakage, and the best solution is to replace it with a new one. To do that, you will need to remove the tub drain. Also, if you have just bought a brand new bathtub, you will have to remove the stopper as well. Even if you don’t, it’s well-advised to remove and have a look at the tub drain regularly. Over time, hair and debris can make the water drain more and more slowly.
How To Remove A Bathtub Drain? Detailed Guide For Each Type
Here’s a quick overview to help you find out the time, the estimated cost in case you need to replace a new bathtub drain, and the difficulty level of each project.
Overall, the removal procedure is not too complicated, even for those new to plumbing and stuff. Once you have identified the type of stopper you are using, keep scrolling to see how to remove it.
Note: Since you will be exposed to a massive amount of hair, scum, and soap buildup, which are gross, it’s a great idea to put on a pair of rubber gloves while you’re working. And now, let’s begin!
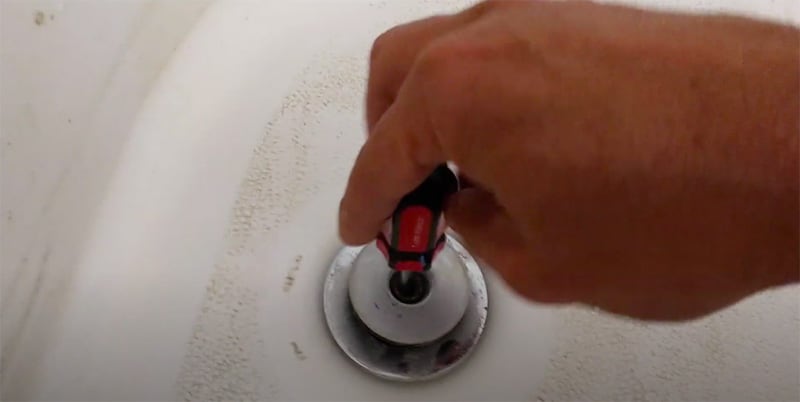
1. Toe-Touch
- Estimated time: 5 – 10 minutes
- Estimated cost (if need to replace the new one): $5 – $30
- Difficulty level: easy
Initially, the toe-touch stopper seems tricky to remove since you cannot find the screw. However, you’ll realize that it’s not rocket science once you get down to it.
What You Need
- Screwdriver (optional)
How To Do It
Step 1: Set the stopper in the open position by hand.
Step 2: Hold the stopper with one hand and unscrew the shaft cylinder by the other in the counterclockwise direction.
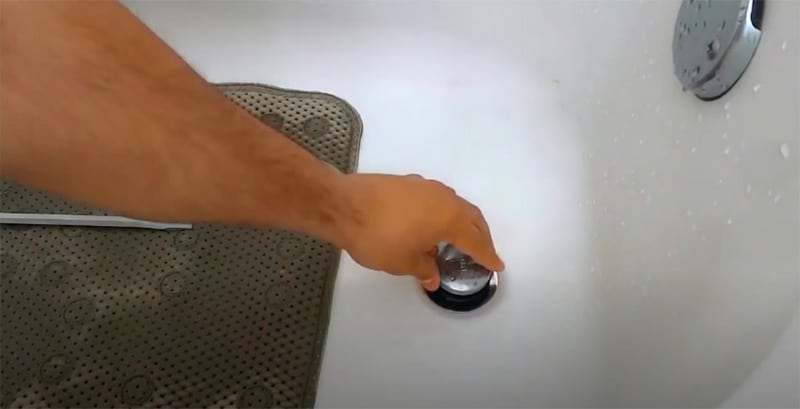
You will need to use a screwdriver in some instances.
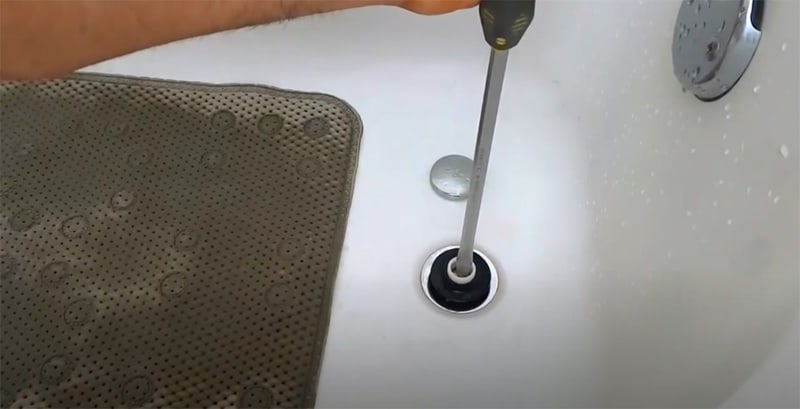
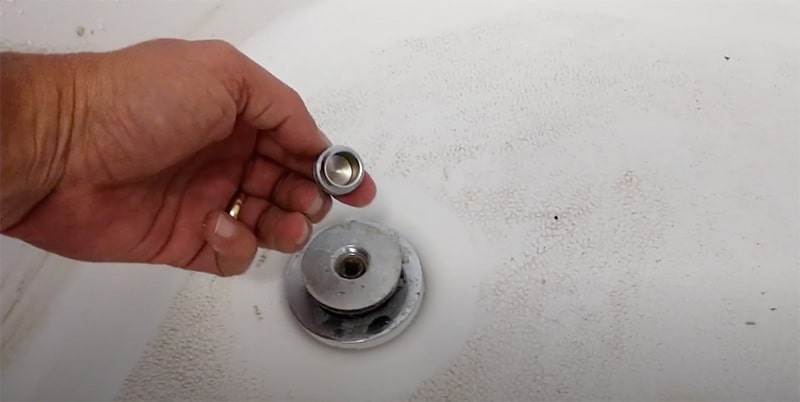
Note: Some toe-touch stoppers come with a top cap that must be removed before the cylinder, whereas others are threaded into the crossbar as a single unit.
Watch this video to know more:
2. Flip-It
- Estimated time: 5 – 10 minutes
- Estimated cost (if need to replace the new one): around $10
- Difficulty level: very easy
Undeniably, the flip-it stopper is the most straightforward to remove – no tool required!
What You Need
- Just your hands
How To Do It
Step 1: Gently twist the stopper’s body until it starts to move a bit.
Step 2: Continue wiggling it back and forth as you pull it upwards. It should come out in no time.
Note: You should check whether the O-rings are in good condition. If it’s damaged, replace it to avoid leaks.
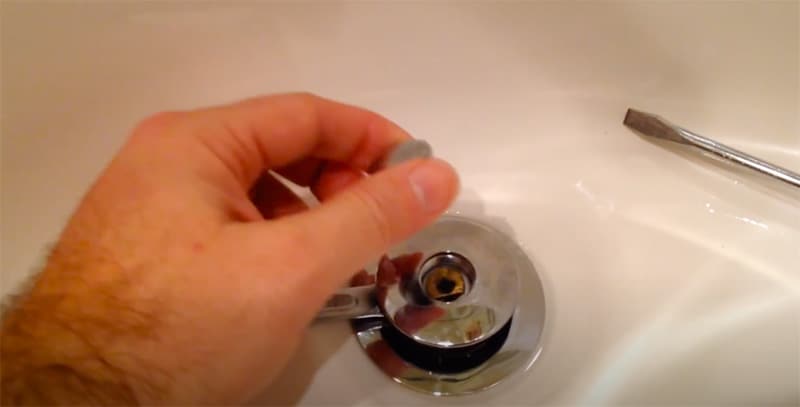
3. Push-Pull
- Estimated time: 5 – 10 minutes
- Estimated cost (if need to replace the new one): $5 – $30
- Difficulty level: easy
The push-pull stopper should not challenge you much either. The point is to remove the knob on its head.
What You Need
- Screwdriver
- Washcloth or rag (optional)
- Pliers (optional)
How To Do It
Step 1: Unscrew the top knob by hand. You will need to use the other hand to hold the base to make this easier.
Step 2: Remove the post that connects the post to the crossbar using a screwdriver. Lift it from the basket drain.
Note: If the knob is overtightened, use the pliers to loosen it. Wrap its body with a washcloth or a rag for more leverage.
You should see the video below:
4. Lift-And-Turn
- Estimated time: 5 – 10 minutes
- Estimated cost (if need to replace the new one): $5 – $30
- Difficulty level: easy
This type is similar to the push-pull, so minimal effort is required to do the work.
What You Need
- Screwdriver or hex key
How To Do It
Step 1: Open the drain by lifting and turning the knob.
Step 2: Hold the body and look for a set screw sitting atop the knob. Unscrew it using a screwdriver or a hex key. Skip this step if there’s no set screw.
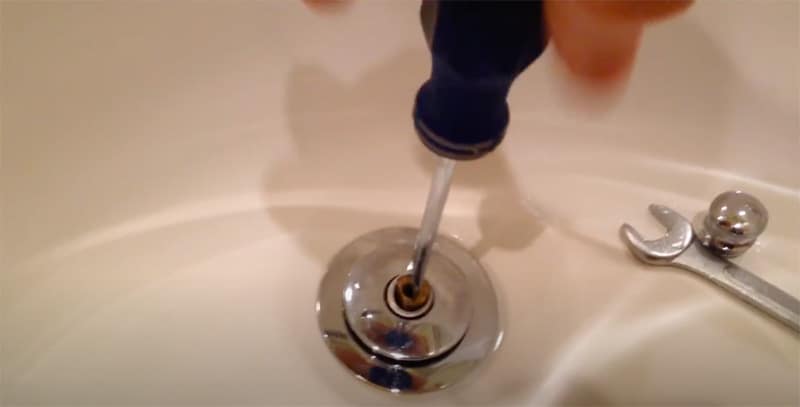
Note: Sometimes, the set screw is under the stopper head. You will have to lift the stopper higher to unscrew it. If there’s no set screw at all, rotate the stopper counterclockwise and pull it upwards.
You should see the video below:
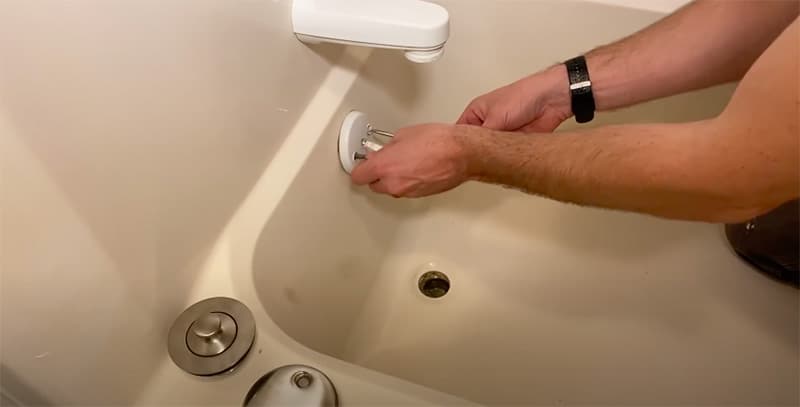
5. Pop-Up
- Estimated time: 10 – 15 minutes
- Estimated cost (if need to replace the new one): $5 – $20
- Difficulty level: somewhat easy
Like the trip-lever, the pop-up drain tub calls for a screwdriver and a bit of your caution.
What You Need
- Bucket
- Clean rag
- Screwdriver (optional)
How To Do It
Step 1: Set the stopper to the open position by flipping the trip lever or rotating the overflow faceplate.
Step 2: Turn the stopper in the counterclockwise direction and pull it upwards. You will need to wiggle it so that it’s easier to release it from the drain. Keep your working space tidy from all the nasty debris with a bucket and a clean rag.
Note: Some pop-up stoppers need to be removed further by using the screwdriver.
Watch this video to know more:
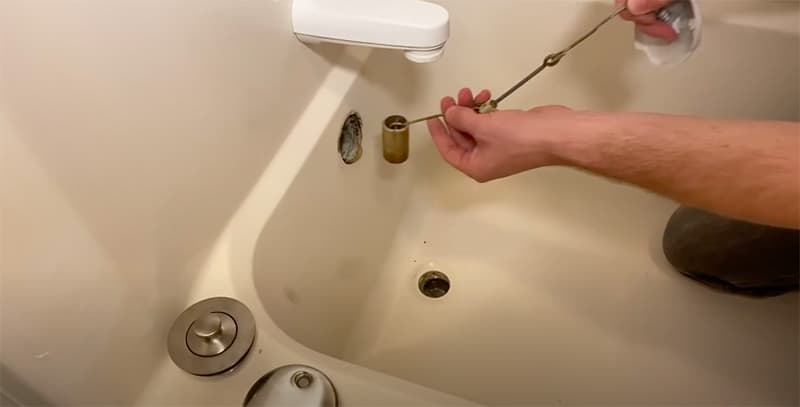
6. Trip-Lever
- Estimated time: 10 – 15 minutes
- Estimated cost (if need to replace the new one): $10 – $30
- Difficulty level: somewhat easy
Removing the trip-lever stopper will cost you some time, so be patient.
What You Need
- Screwdriver
How To Do It
Step 1: Set the stopper open by turning the lever.
Step 2: Detach the lever from the tub by removing the screws on the sides.
Step 3: The faceplate should come off by now. Pull the drain stopper carefully out of the drain opening. The other components will follow, and it’s necessary to wiggle to extract the pivot arm.
Note: Should there be any screen or strainer, pry it off with the screwdriver.
Watch this video to know more:
7. PresFlo
- Estimated time: within 5 minutes
- Estimated cost (if need to replace the new one): $2 – $5
- Difficulty level: easy
Even though the PresFlo is not commonly used, it’s worth learning how to remove it as it is reasonably straightforward.
What You Need
- Small suction cup
How To Do It
Step 1: Check whether the stopper is level.
Step 2: Press the suction cup down onto the stopper. You will have to try doing this several times until forming a good seal since the stopper tends to rotate with pressure.
Step 3: Grasp the suction cup and pull the stopper out of the drain body.
Note: If you’re lucky, you can pull it out using your fingers.
You should see the video below:
8. StopShroom
- Estimated time: less than a minute
- Estimated cost (if need to replace the new one): $10 – $20
- Difficulty level: very easy
Removing a StopShroom stopper is like a walk in the park since it does not fit in the drain. You just need to hold the handle on the side and lift it out – that’s all, really!
9. StopShroom Plug
With a StopShroom plug, the removing process is not troublesome at all. Hold the silicone plug and pull it out – it should not take you more than a minute, frankly.
- Estimated time: less than a minute
- Estimated cost (if need to replace the new one): $10 – $20
- Difficulty level: very easy
The Post-Removal: Bring Back The Tub Drain’s Shiny Look
After removing the tub drain, what do you do next? Well, don’t rest yet – there’s still some work to do, and it should be quick.
Clean The Parts
Once you get the stopper and other hardware parts out of the drain, it’s a good idea to give them a quick rinse before re-installing. You will need a rag or a sponge and an all-purpose cleaner to do this.
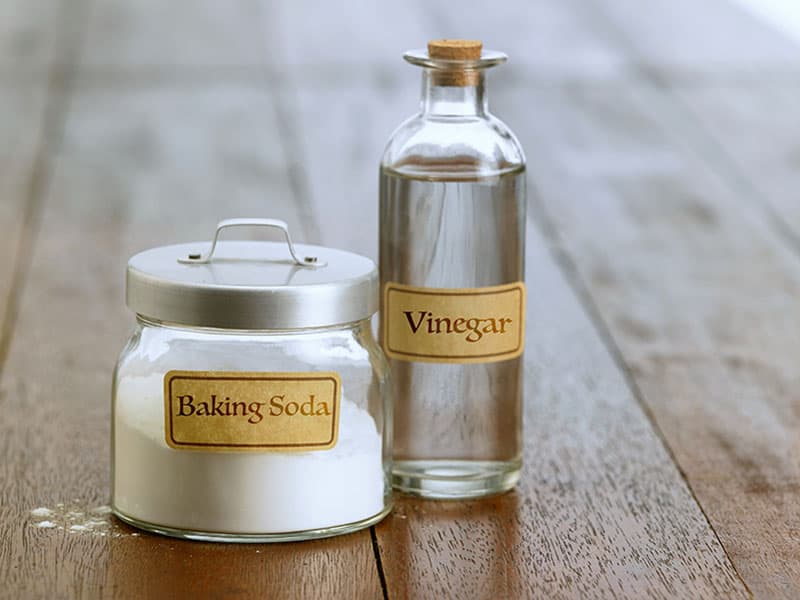
Check to see if the components are still in good condition. Should any of it show signs of damage, replace it with matching parts. If you wish, polish the surface using a commercial chrome polish product or the classic cleaning combo vinegar and baking soda.
Note: The pop-up stopper collects more debris than any other type, so you may need to spend more time cleaning it.
Remove The Tub Drain Basket
The drain basket, or flange, usually has a metal or plastic crossbar to prevent large debris from falling down the drain. Over the years, the fixture is more liable to corrode or wear and tear, resulting in leaks, rust, or partial damage.
If such things happen, the drain basket won’t provide a proper seal and allows water to seep through the tub and contact the floor. This will cause the flooring structure to deteriorate or even be prone to collapse in the long term.
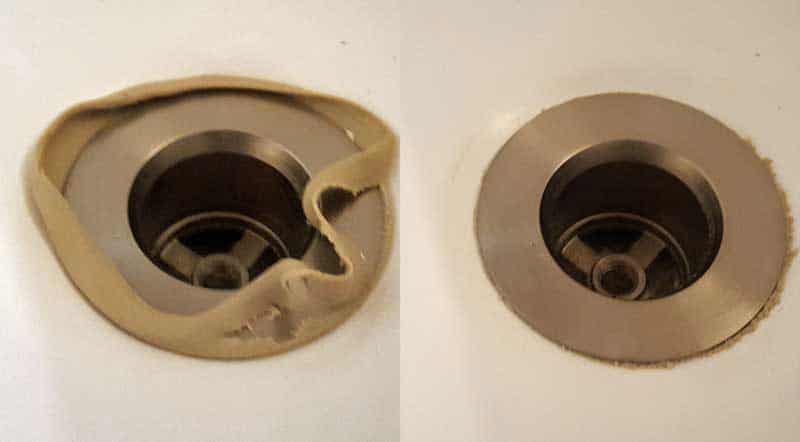
Step 1: Soften The Putty
The basket is sealed with plumber’s putty, and a sealant used to make watertight seals around drains. Most formulations contain clay or linseed oil, but you can also expect the inclusion of talc or limestone as well. The putty is sometimes replaced with RTV silicone or epoxy.
Over time, the putty will become hardened. Before removing the basket, it’s your job to soften it using heat from a hairdryer. Turn it on hot or warm and let it blow on the flange for a few minutes.
Credit: Terry Love
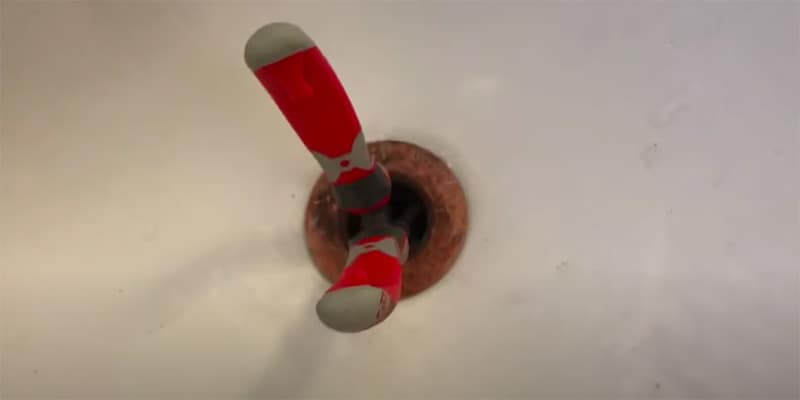
Step 2: Remove The Drain Basket
To remove the basket, you will have three options: using the pliers, the drain wrench, or the drain extractor. The last option is utilized when the tub drain does not have a crossbar.
With a pair of needle-nose pliers, clamp and lock onto the center of the crossbar. Rotate it until it starts to loosen. If it’s stubborn, twist it open with another set of pliers while gripping the lower end of the first one at a perpendicular angle.
Watch this video to know more:
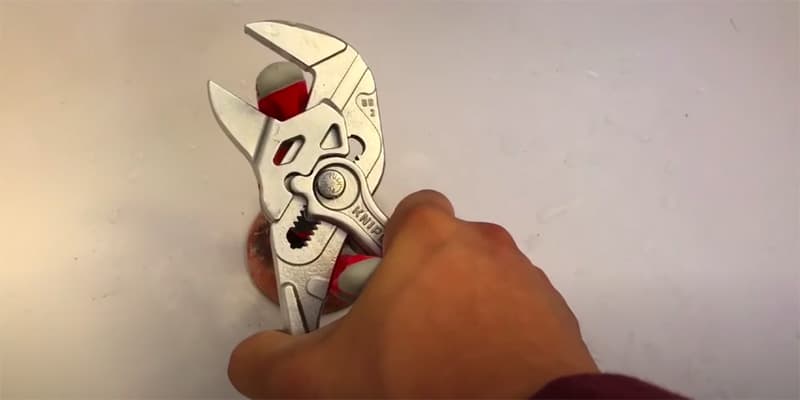
Option 2: Use The Drain Wrench
A drain wrench is a specialized tool made for this purpose, so the tub drain should come out with ease. Insert the wrench into the crossbar and turn counterclockwise. The wrench is designed to avoid breaking and scratching the tub drain, so you shouldn’t be worried.
Credit: New York Replacement Parts
Option 3: Use The Drain Extractor
If your tub drain has no crossbar, this is the ultimate choice. The drain extractor will grip the walls inside the drain fitting to help you get it out with no difficulties.
You should see the video below:
Clean The Drain Opening
Once the drain body is out, it’s time to clean the drain opening. It’s essential to scrape off the residue putty with a special knife and a rag. Be careful while you’re doing this, as the putty can start a clog when it falls into the drain since it does not break down.
Give the drain opening a quick wipe using a mild bathroom cleaner combined with vinegar and baking soda (ratio 1:1).
Reassemble
Now that everything is good as new, it’s time to put them back into place. Replace the gasket if needed and insert the new flange with putty.
Reassemble the parts as you remove them – the hardware components are installed first and are followed by the stopper.
For the trip-lever and pop-up types, you will have to be careful with the arm so as not to break it. Screw the stopper into the body but don’t overtighten.
Check The Results
Let the water run and see if it stays or drains as it should. If it does not, adjust the plunger accordingly and check whether the stopper body has been sealed entirely. If the tub drain functions correctly, congratulations – you have successfully finished the job!
FAQs
Do you still have some questions by the time you are here? Don’t fret, as the following section provides all the answers you are searching for. Check it out!
Enjoying Your Bath With No Worries
Knowing how to remove the bathtub drain is extremely helpful. Sometimes, the plumber takes forever to stop by, not to mention that the maintenance cost is usually over the roof. Forget all those inconveniences and do it yourself instead with the help of this post.
I hope your bathtub has now been unclogged and free from those disgusting hair clogs and soap buildup. It’s time for a hot, bubbly bath to celebrate your result. Should you have further questions or tips about the removal process, don’t be shy to comment below. I’m always here to help!