7 Proven Solutions to Pull-Out Spray Kitchen Faucet Problems
Pull-out spray kitchen faucet problems are inevident if you use one in your kitchenette. Indeed, these faucets are very versatile that render utmost functionality to any kitchen, providing an enhanced level of flexibility for rinsing, washing, or doing any other cleaning-related tasks.
But as these kitchen faucets come with additional moving parts, they are more susceptible to tear and wear than ordinary taps. So, if you have one, there are higher chances of facing pull-out spray kitchen faucet problems.
If you are already facing the issue and looking for effective solutions to mend it, you’ve landed on the right page. Here, I have put forward the common pull-out kitchen faucet problems and their corresponding fixes. So, without much ado, let’s dive in straight away to the article.
Top 7 Pull Out Spray Kitchen Faucet Problems And Their Solutions
A majority of pull-out kitchen faucet issues encircle around the tap’s four primary parts, namely:
- Flexible faucet hose
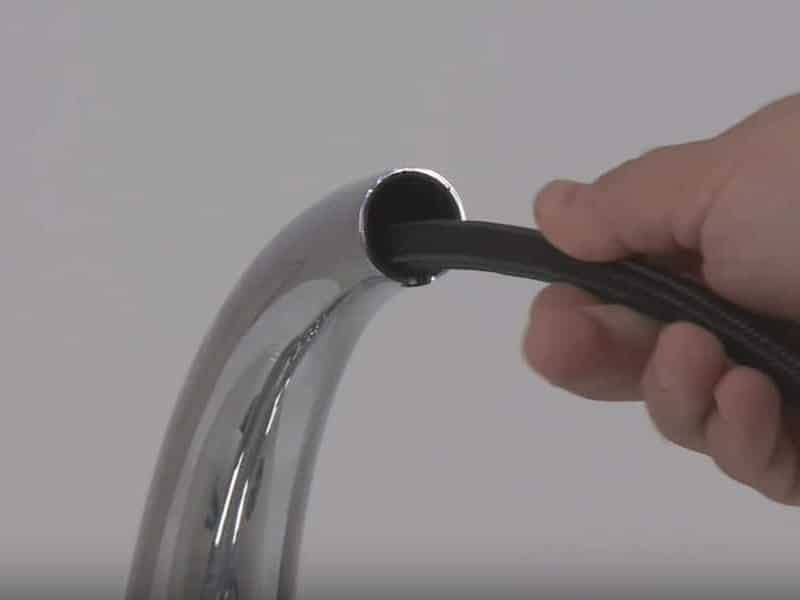
- Chrome pull-out hose
- Hollow faucet spout
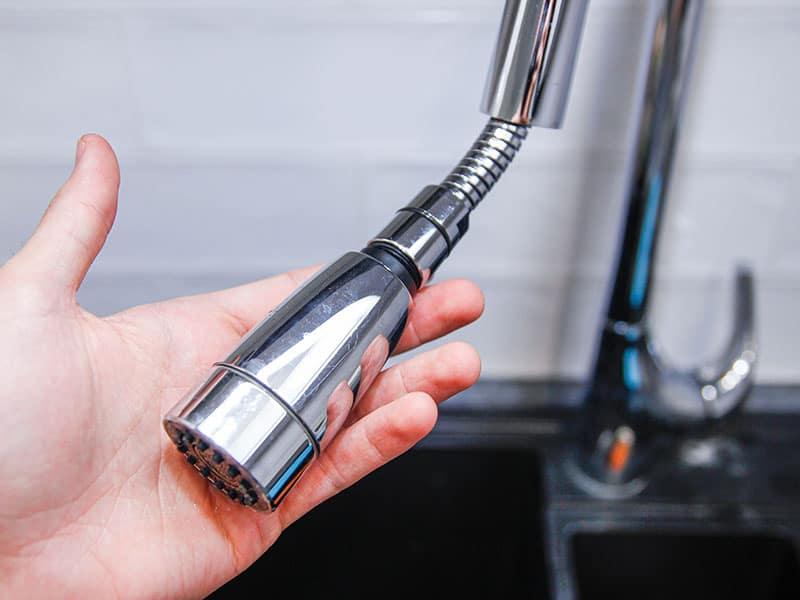
- Pull-out sprayer wand
Despite where exactly the issue arises from, you should understand what to anticipate and how to deal with the problems when they turn up.
So, here are some of the most widespread pull-out kitchen faucet issues you’re likely to face, along with their respective solutions.
Problem 1: Pull Out Faucet Does Not Retract
It is a pervasive issue with pull-out spray kitchen faucets. But it is not likely to be a sign of stress as it doesn’t always imply your tap is broken.
Usually, when the pull-out sprayer wand does not get retracted, you’ll naturally need to drag it back by your hand. But this method is always unnatural and tiresome. So, while manufacturing pull-out spray kitchen faucets, pull-out hoses with an additional weight are connected to the sprayer to facilitate easy retraction due to gravity.
But with usage, these hoses cease to retract. It is possibly because the extra weight attached to hoses might have dropped off, and it must be examined. However, this issue can also occur if the hose gets worn out and sticks to the tap’s side.
Solution
If you are facing this problem of a non-retractable faucet, you need to the following steps.
- First, check below the sink to see if the pull-out hose is still connected to the tap. If not, you can effortlessly reposition it to the proper place by moving the weight up and down.
- In some instances, you might also find that your kitchen faucet’s wright or pull-out spray hose is knotted with the water tube valve. Well, in such a situation, you can fix it by simply disentangling the hose from the valve. Committing this can also make the faucet retract properly.
- Next, if your kitchen faucet’s weight is not placed at the right spot, add more weight to the tap with the assistance of a screwdriver. And your problem is fixed!
Watch this video to know more:
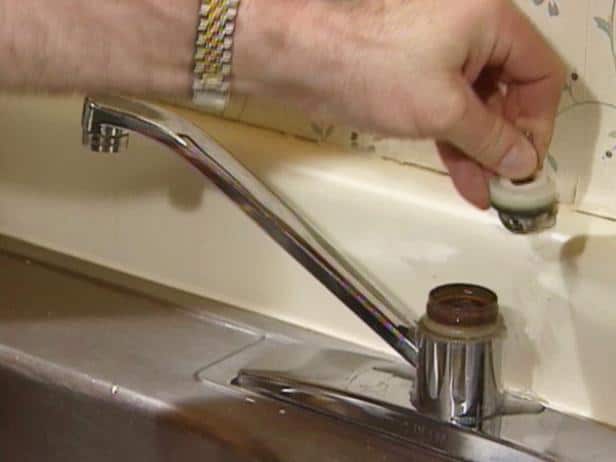
Problem 2: Lesser Water Force In The Faucet
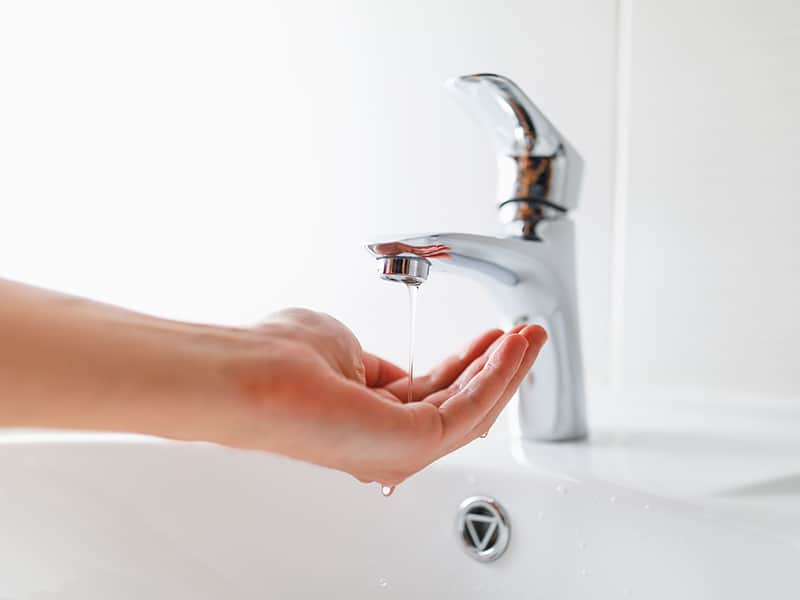
This issue is not only limited to pull-out spray kitchen faucets. It can occur to every type of faucets, such as touchless kitchen faucets or commercial kitchen faucets. But do you know why it happens? Many factors are responsible for this problem, but the most common one is mineral deposit accumulation in the aerator of the faucet’s head.
The circumstance becomes even more terrible if you reside in hard water localities. However, you don’t need to worry about this issue, as fixing it is pretty easy. It involves simple actions that can be done by yourself.
Solution
So, to fix this problem of low water pressure in the pull-out spray kitchen faucet, follow this step-by-step guide.
- First, you need to eliminate the aerator from the edge of the main spout of the faucet by unwinding it manually in a clockwise direction.
- However, if the aerator is fixed at one place and is giving you a tough time rolling it with your hands, you can use a set of pliers to unlock it. But be cautious not to create a dent on its surface with a tough grasp of the pliers. Try wrapping the masking tape on the pliers’ jaws to decrease the impact of the handle.
- Then, utilizing a screwdriver, remove any components of the aerator that might be stuck inside the spout and clean the accumulated deposits and debris.
- You can even use a toothbrush or paperclip to clean sediments stuck inside the gaps of each part of the aerator.
- If the accumulation is too much, you can boil the aerator and its different components in vinegar for about 30 minutes.
- Then finally wash them off with water, reassemble and reconnect the aerator to the spout by twisting it anti-clockwise.
- Now, open your kitchen faucet, and see how forcefully water gushes out of it.
Easily solve the low water pressure problem in your kitchen faucet.
Problem 3: A Blocked Diverter Valve
Water cannot get to the pull-out spray hose from the faucet spout unless your faucet has a diverter valve.
Whenever you open your pull-out kitchen tap, cold or hot water streams into the spray hose and proceeds to flow into the faucet, where the diverter valve channelizes it to the spray head.
But when you constantly utilize the tap, this diverter valve draws mineral deposits towards itself and becomes blocked or dirty, making the faucet flawed. In addition, a blocked diverter can cause poorer water pressure and other related issues.
Solution
So, how to do away with this issue? Well, check out here.
- Start by turning off the water valves before removing the screw from the water handle utilizing a flathead screwdriver.
- Once the valves are turned off, continue eliminating the handle and exposing the tap’s cap by rotating it anti-clockwise.
- Then, detach the bare cam to reach out to the tap ball assembly and eliminate them.
- After that, remove the hollow faucet spout by shifting it back and forth until it eases out and comes off.
- Now, inspect the front edge of the faucet’s stem and find the diverter valve.
- Once done, take it out to wash away the blocked dirt and mineral deposits utilizing vinegar.
- After that, again fix the diverter to its place in the faucet after rinsing and drying it.
How can you fix a clogged diverter valve?
Problem 4: A Leaky Pull-Out Hose
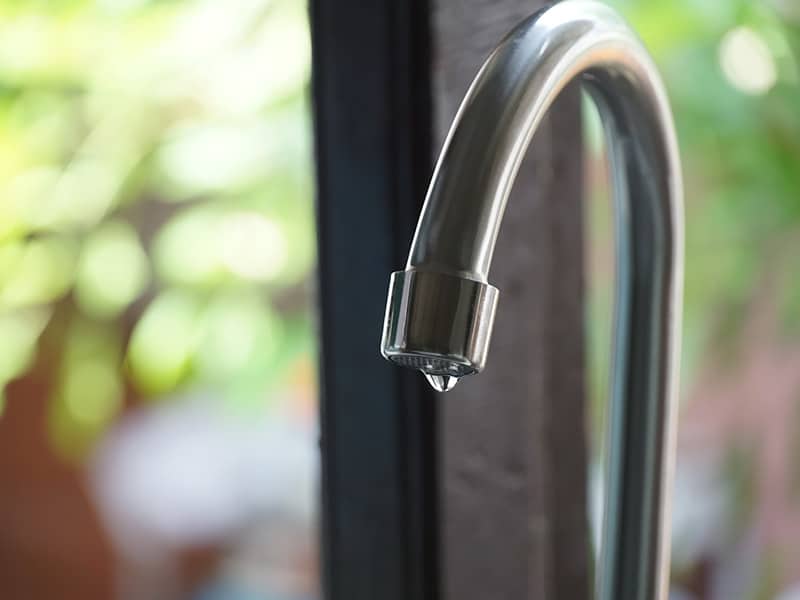
If the pull-out hose is worn out and old or the hose joint wasn’t done correctly during the installation of your kitchen faucet, it can leave some loose edges, letting water ooze out. You will be more likely to witness leakage at each edge of the hose joint.
Well, a leaking pull-out hose might sound non-dangerous, but it can make the sink of your kitchen messy and dirty. Also, a leaky faucet can unnecessarily hike your utility bill. So, do not ignore it. Instead, get it repaired on time.
Solution
The best solution to such an issue is to purchase a new hose and attach it afresh rather than buying a new unit. So, here’s how you can get started.
- Switch off the water valves placed under the faucet of your kitchen so that you can be worry-free about water streaming during the repair.
- Then, remove the screw from the weight of the hose under your kitchen sink if it’s still tightened. Finally, separate the hose from the water supply to prevent any water from gushing into the hose. As, if it happens, it will create an entire mess.
- Now, remove the worn-out troublesome hose through the kitchen’s faucet spout and replace it with a new one.
- If you’re utilizing a plastic load, you should slip them back into place before connecting the hose with the water reserve. After setting back the hose and screwing the screw-on loads properly, open the faucet and examine if there is any leakage.
Replace the leaking pull-out hose by following simple and easy steps.
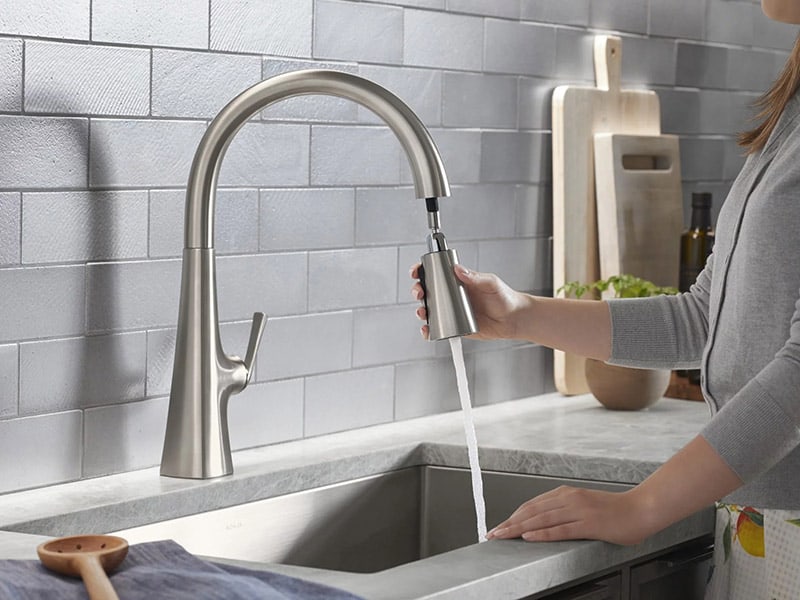
Problem 5: Faucet Spout And Body Doesn’t Settle Appropriately On The Cradle
Another pull-out spray kitchen faucet problem you might experience is that the body and spout won’t fit properly on the cradle after utilizing it over time.
Well, it is all about the kind of faucet you prefer to purchase for your kitchen. Inexpensive models are more likely to have this issue more often than the expensive and slightly advanced ones.
Companies manufacturing high-tech pull-out spray kitchen faucet models include a system of magnets that facilitate the spout to fit in place for a longer time. But with continuous usage of the faucet, the magnetic property of that magnet gets reduced, leading to this issue.
Solution
If you are using inexpensive models of kitchen faucets, you certainly do not have any other option than to opt for a replacement as soon as possible.
Nonetheless, it is recommended to purchase a new magnet ring for advanced models and replace it with the older one to make your kitchen tap work properly. You can easily do this by yourself right at your residence. Are you wondering how?
- Just shut the water supply, remove the screw from the nozzle, and loosen the hose from the ends of the spindle.
- After this, you can effortlessly take out the magnet from one end of the spindle and secure the new magnet in place.
- Once done, push the hose upwards to the rear end of the spindle, tighten up the nozzle, and switch on the water supply.
Go through this step-by-step guide to make the faucet body or spout sit appropriately on the cradle.
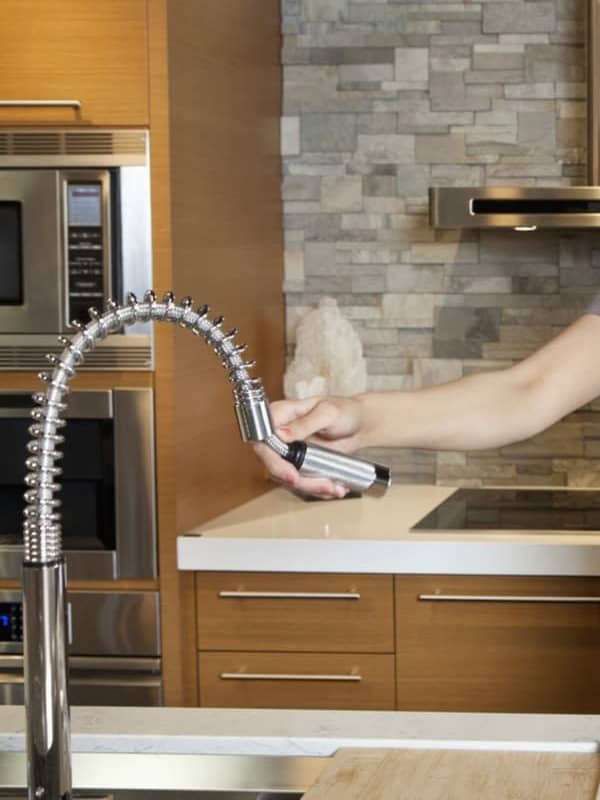
Problem 6: A Leaky Spray Head
Well, this is one of the major pull-out spray kitchen faucet problems that you will often need to deal with. In fact, this is the primary issue that no pull-out faucet owner would want to experience sooner.
However, you can mend a leaky spray head only by changing it. The positive news is that replacing a kitchen faucet’s spray head is an easy task. And once there are proper tools, you can quickly fix the issue.
Solution
As already said, replacing the spray head is the only solution to fix this problem. So, all you need to do is bring a new spray head and adequately adjust it in the correct position before you proceed to use the faucet. But how exactly is it done?
- Start by switching off the water valves located under the kitchen sink.
- Then, use a flathead screwdriver to remove the screw from the old spray head, uncover the C-clip, and remove it.
- After doing so, you’ll have to fasten the new faucet’s spray head following a simple method.
- Connect the new C-clip followed by a washer. With these two components attached, utilize a screwdriver to fix the new spray head into place.
- Once done, make sure that you periodically open up the spray head and wash off its surface to remove the accumulated dirt. It will enhance the performance of the pull-out kitchen faucet and increase its longevity.
Here’s how to fix a leaking spray head.
Problem 7: Sticking Water Handle
The maximum pull-out spray kitchen faucets are available with a water handle that enables you to get water anytime. Its working mechanism is pretty similar to a sprayer. The water handle is set with a tiny lever on it, which you can quickly press to make the water flow out.
But repeated clicking of the lever makes it unresponsive and weak, which, in turn, makes it stick inside whenever you push the button.
If the water handle gets stuck due to regular wear and tear, you need to replace it entirely. But if this issue occurs due to dirt and grime buildup, you can simply clean it, making the handle functional again.
Solution
Follow the below-mentioned steps to fix the issue of sticking water handle.
- Switch off the water supply before fixing this pull-out spray kitchen faucet problem.
- Next, check around the handle to examine where the lever is exactly situated. The lever button should be on the side or top of the handle.
- After locating it, utilize a straight head screwdriver to pop out the button. Make sure that you are extra cautious while popping out the lever so that it doesn’t break. However, if it gets damaged by chance, you can always get a replacement done.
- Now, once the lever is popped out, unscrew the button to loosen the faucet handle.
- Then, pull it off and change it with a new one or wash it thoroughly to do away with grime clogs.
Know how you can fix the sticking water handle at home.
FAQs
The aforesaid section of the article might have already cleared your concepts regarding the common pull-out spray kitchen faucet problems and how they can be fixed. But here I have enlisted a few more frequently asked questions for your convenience.
No More Compromise With Pull Out Spray Kitchen Faucet Problems
Kitchen faucets can be complicated. If you wish to have the most utilitarian and functional type, there are a few problems you need to deal with. Besides, all kinds of kitchen faucets become useless at one point. The crucial thing is that you need to understand how to fix the problem.
So, when dealing with pull-out spray kitchen faucet problems, first, attempt to examine the root cause of the issue. Then, replace the corresponding component instead of the entire faucet. In this way, you can save both your efforts and money.
However, if you come across any of the above-mentioned pull-out spray kitchen faucet issues, do try out these solutions and let us know if they worked for you. Also, in case you liked the article, do not forget to share it with your known ones and help them fix their kitchen faucet problems, too.
