How To Increase Water Pressure In Shower (18 Methods)
Lots of people have at least once pondered how to increase water pressure in the shower, and usually, they are left with more questions than answers. Well, don’t fret if I have just called you out – it’s a common problem and also an irritating one.
Even though it’s a minor nuisance, you should not put up with it. The issue can be more significant than you have imagined, primarily if the culprit lies in the plumbing system. Keep reading, and I’ll show you where to get started.
What To Do When The Water Pressure Is Disappointing?
Overall, there are several ways to boost water pressure. Some will cost you a bundle, but some do at a reasonable charge or nothing at all.
- Clean the showerhead
- Remove the flow restrictor
- Inspect kinks
- Replace the shower diverter
- Replace the single-handle control valve
- Open the main water valve
- Open the water heater valve
- Check the curbside main
- Flush the water heater
- Check for leaks
- Switch to a low-pressure showerhead
- Choose the right combi boiler that suits your needs
- Install a power shower
- Equip an electric shower and cold water accumulator tank
- Install a shower pump
- Install an unvented cylinder
- Take showers during off-peak hours
- Avoid running multiple appliances as you take showers
Before you jump to the solutions, let’s conduct a quick test to check the water pressure first.
Test The Water Pressure For Shower – Here’s How
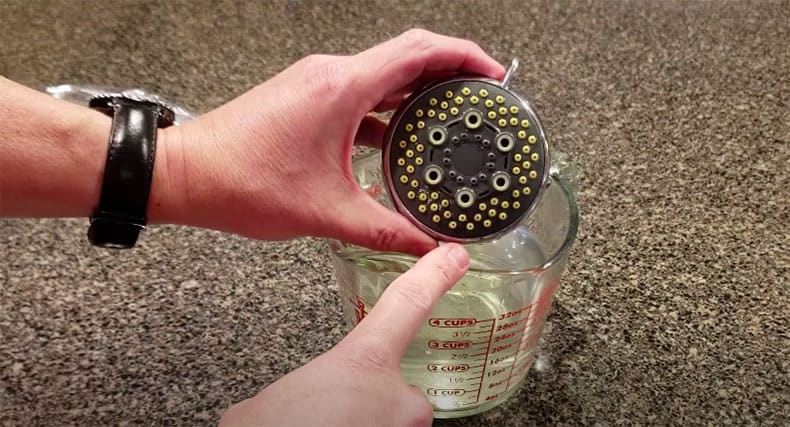
Not sure whether your water pressure is up to par? Here’s the way to find out. Place a 1-liter measuring container under the shower and let the water run. Time how long it takes until the container is full. If it’s more than 6 seconds, something’s off, and you need to fix it.
Another technique is to use a water-pressure gauge, a specialized tool that can assess the water pressure. Attach it to a hose bib and check the psi. If it’s somewhere between 40-60 when you open the valve, the pressure is not adequate.
Common Causes Of Low Water Pressure
Before getting to work, you will have to determine what’s the problem. Is it something related to the plumbing? Is the showerhead faulty and needs to be replaced? Well, you don’t have to rely on pure guesswork – check out the following section.
1. Low-Flow Showerhead
The low-flow showerhead is no longer widely used, and the chances are that you can only find it in California nowadays. Admittedly, it works wonders in saving energy and reducing your water bills, but it’s a nightmare for shower lovers.
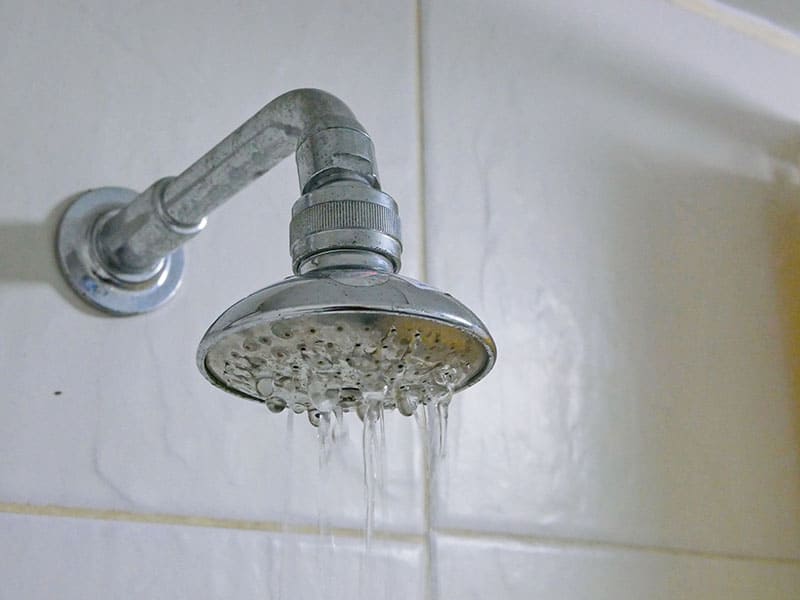
2. Blocked Showerhead
With time, limescale and mineral deposits will block those tiny holes of your showerhead, reducing water volume and ruin your shower experience. Lucky for you, the issue is not too difficult to resolve.
3. Flow Restrictor
Also known as the water restrictor, it restricts the water flow by 2.5 gallons per minute. In fact, this is a requirement imposed by the National Energy Act with a view to lowering people’s water bills and protecting the environment.
4. Worn-Out Mixing Valve
A mixing valve is designed to control the water temperature by mixing hot and cold water. To illustrate, when someone in your family flushes the toilet, the shower temperature will drop, followed by the pressure. This usually lasts for 15-30 seconds only.
When stuck or worn out, the mixing valve can also affect the temperature and the water pressure. In this situation, you will need to call in a professional plumber, or perhaps you want to consider switching to a thermostatic valve, the ideal solution to the first problem.
5. Peak Periods
Is the water pressure low at all times or only at certain periods of the day? In multi-story buildings or neighborhoods with many residents, the water demand will surge and cause the water pressure to be temporarily low during peak hours, such as in the morning.
6. Plumbing System Issues
Issues regarding the plumbing system, such as leaky pipes, are usually challenging to deal with unless you are an experienced plumber. Therefore, it’s well-advised that you seek help from an expert.
18 Ways On How To Increase The Water Pressure In Shower
Which option is the best? Refer to the chart below to find out the estimated cost, time, and difficulty level of each method before concluding.
Below are some methods that help increase the water pressure in your shower. There are simple DIY tricks that cost you very little to no money, but you will have to resort to other pricey options if the problem has something to do with the plumbing system.
Option 1: Clean The Showerhead
Cleaning the showerhead is the cheapest and usually, the most effective method to build up the water pressure. Here’s how you do it.
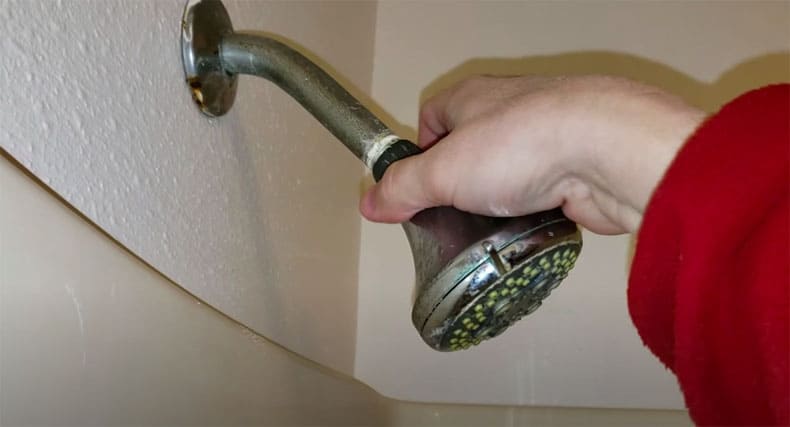
Step 1: Unscrew the showerhead.
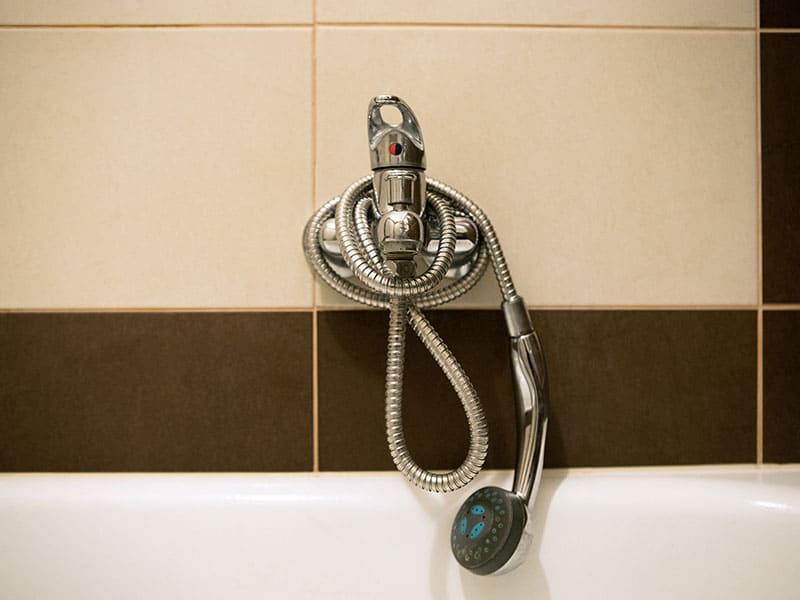
- If it’s a handheld showerhead, use a wrench to remove it. Should it refuse to come off, you will need to turn to a pair of pliers and a wrench for help.
- If it’s a wall-mounted showerhead, twist it counterclockwise by hand.
- Other showerhead types, namely the rainfall or the shower panel, are slightly trickier to remove, so it’s well-advised to seek professional help.
Step 2: Detach the screen filter if there’s one.
Step 3: Clean the filter using an old toothbrush.
Step 4: Clean the rubber nozzles. Again, use an old toothbrush to do the job. New models are more efficient to clean since you can rub the nozzles with just your fingers.
Step 5: Submerge the showerhead in a bowl of vinegar overnight.
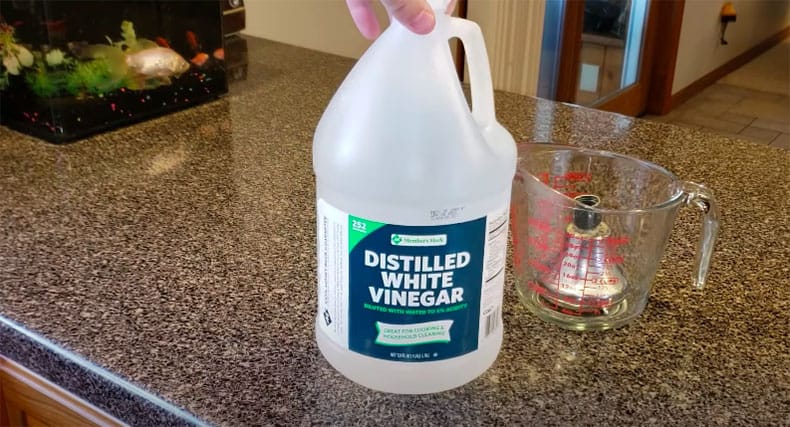
Step 6: Once the mineral deposits have finally come off, screw the showerhead back onto the wall or hose and check the water pressure.
Note: Consider replacing a new showerhead if the one you use is in a deteriorating condition or damaged. Cleaning will not help at all.
Watch this video to know more:
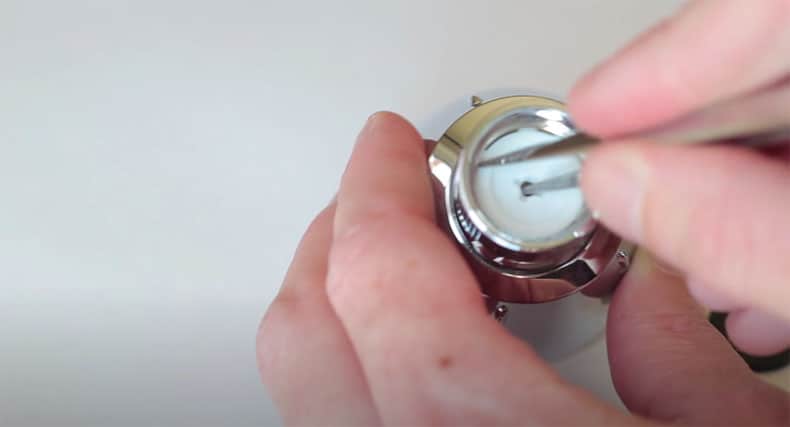
Option 2: Remove The Flow Restrictor
The instructions above apply to most showerhead kinds, but keep in mind that they can vary slightly. For example, some do not include the screen, whereas some flow restrictors differ regarding the color.
Step 1: Remove the showerhead as instructed in the first step of Option 1.
Step 2: Remove the rubber gasket with your fingers (recommended) or a screwdriver, followed by the screen (if there’s one).
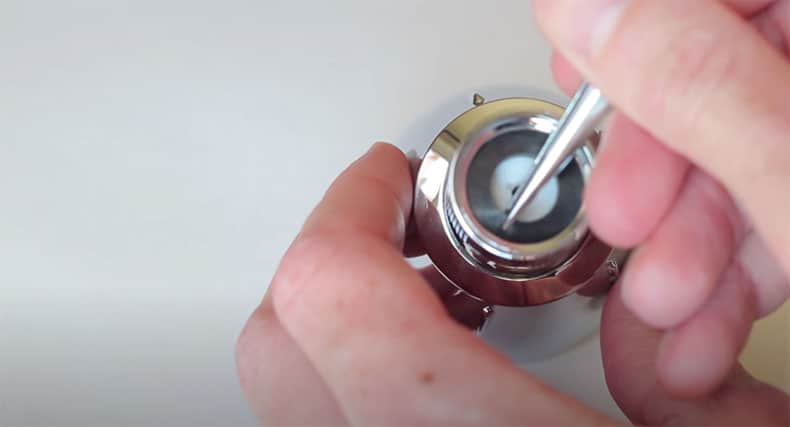
Step 3: Remove the flathead screw using a screwdriver. You can easily spot it on the restrictor’s head.
Step 4: Detach the flow restrictor with the screwdriver or a pair of tweezers. Take it slow, as you will be dealing with many minuscule threads that are prone to damage.
Step 5: Reassemble the parts as you remove them. You will begin with the screen, then the gasket, and finish with the showerhead. Make sure that they are clean and properly installed.
Note: Removing the flow restrictor is not recommended since you will be susceptible to higher water bills. Moreover, doing so will avoid your warranty, and it is also considered illegal in some places.
Watch this video to know more:
Option 3: Check For Kinks
Look for any visible kink in the hose or water line. Straighten the bends and twists so that they no longer prevent the water flow. You will want to check the water heater pipe, too, as it is normally braided.
Option 4: Replace The Shower Diverter
Owing to the shower diverter, you can effortlessly switch between the tub faucet and the showerhead in just a blink. Nonetheless, when it’s faulty, most of the water will be sent to the faucet only, leaving your showerhead trickle.
If that’s what happens, you will need to change your shower diverter as instructed below.
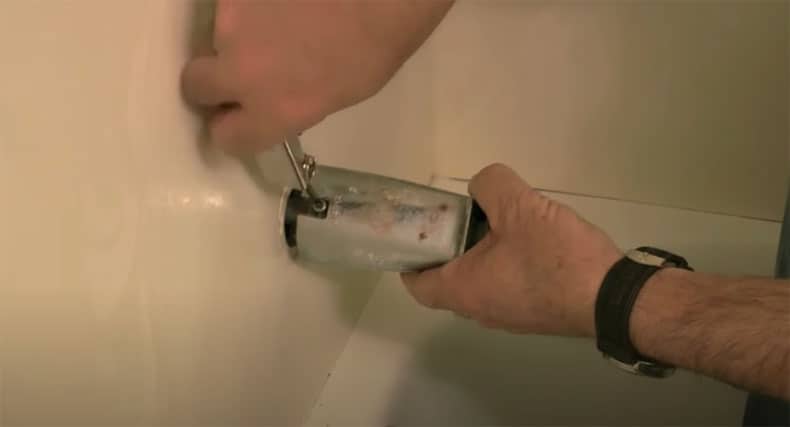
Step 1: Turn off the water supply
Step 2: Remove the water spout
- If it has a screw underneath, unscrew and remove it with a screwdriver.
- If it’s threaded onto the wall, remove it with a wrench or pry off with a small knife.
Step 3: Bring the spout to the hardware store and find the matching replacements.
Step 4: Reinstall the new diverter as instructed on the kit.
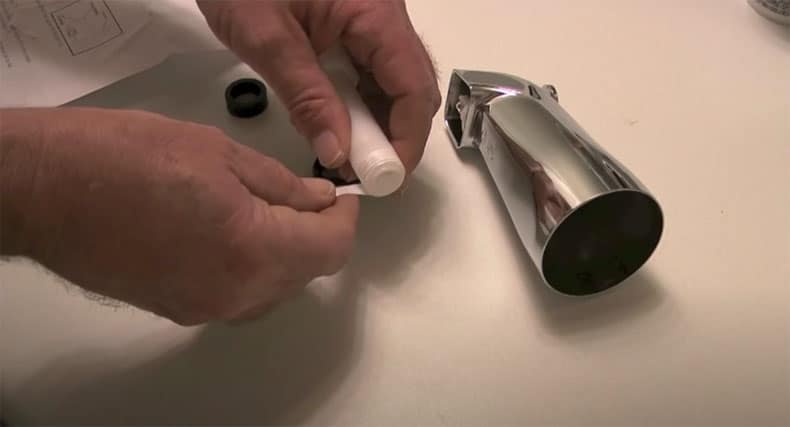
Step 5: Put the spout back and turn on the water supply. Check whether the diverter has worked correctly now.
Watch this video to know more:
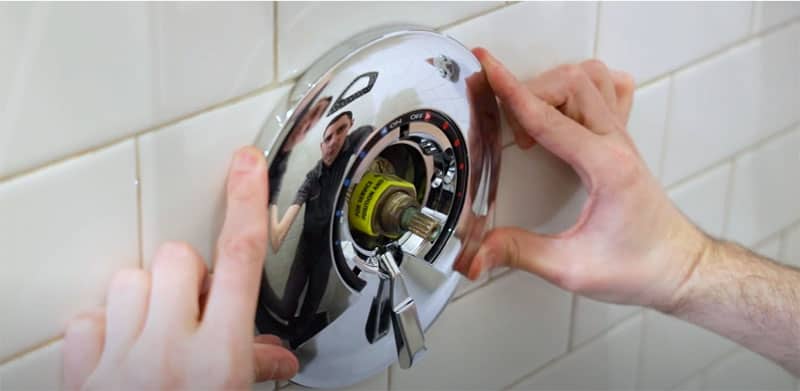
Option 5: Replace The Single-Handle Volume Control
As per the name, this component allows you to control the water flow by adjusting the handle. Gradually, the movable part will become faulty, compromising the water pressure. Here are the steps of how to replace a single-handle control valve.
Step 1: Remove the screw underneath the handle to separate it from the fixture. If it’s the knob type, pry off the cap with a screwdriver or small knife.
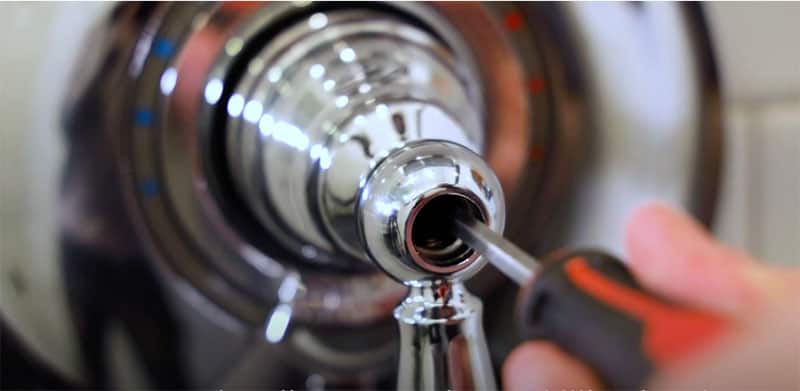
Step 2: Unthread the two screws to extract the escutcheon plate.
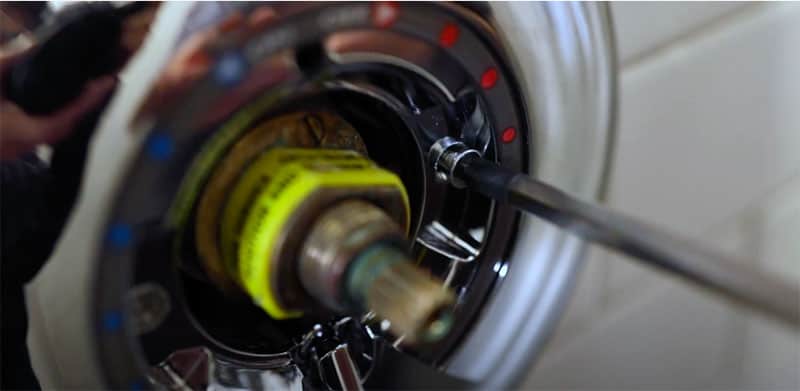
Step 3: Loosen the retaining nut, if any.
Step 4: Upon removing the nut, you will see the cartridge. Gently pull it out of the hole.
Step 5: Insert a new rubber seat and spring into the valve.
Step 6: Put the new cartridge into the valve, followed by the O-ring. Tighten the nut to prevent leakage.
Step 7: Reassemble the plate and the handle.
Step 8: Pre-set the temperature and turn on the anti-scalding feature if there’s one.
Note: You will need to shut the main valve as you’re working on this DIY project.
Low water pressure? Replace your volume control now:
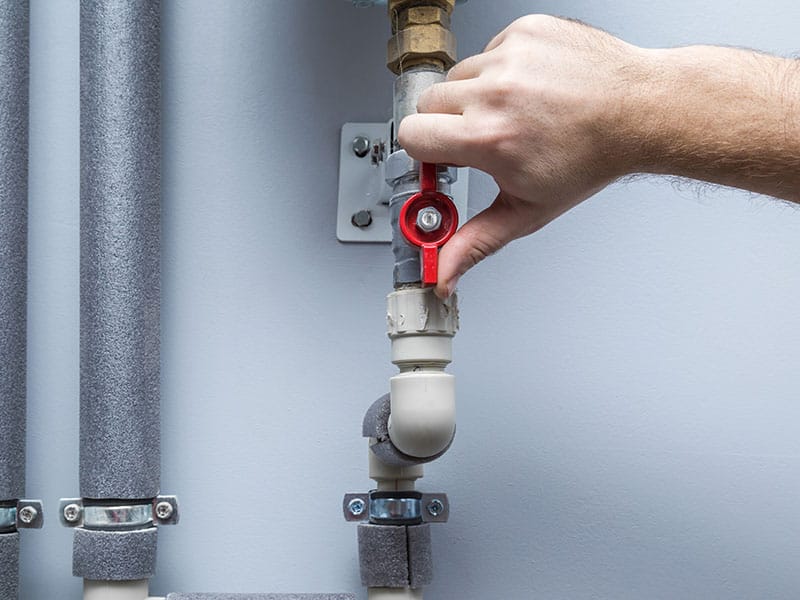
Option 6: Open The Main Shut-Off Valve
Check whether the main water valve has been opened or not. Usually, when the plumbers come over to do the repairs, they shut off the valve and forget to turn it on when they have finished the job.
The valve is usually located under the basement, and it comes with a red lever, sometimes blue. Turn the lever and check whether the water pressure has been back to normal. If it’s not, move on to the next solution.
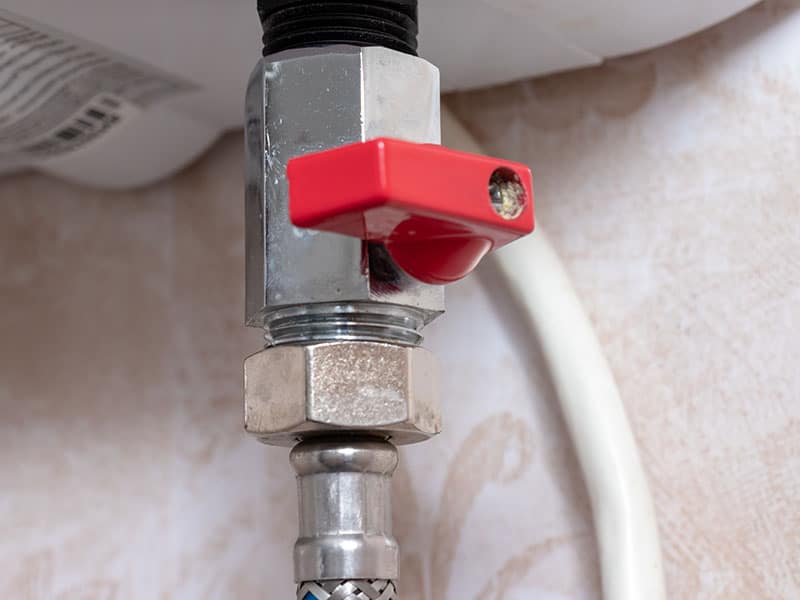
Option 7: Open The Water Heater Shut-Off Valve
Provided that you experience low pressure with hot water only, there’s a high chance that the water heater valve has not been fully opened. Similar to the main water valve, this one has a lever. Check whether the lever has been set to the open position yet.
Option 8: Inspect Curbside Main Shut-Off
Has the curbside main been turned on correctly? If it’s a round handle, it has to be turned all the way counterclockwise. If it’s a lever, it should be aligned with the pipe. Most water providers do not suggest doing this yourself, so call someone to help you open it.
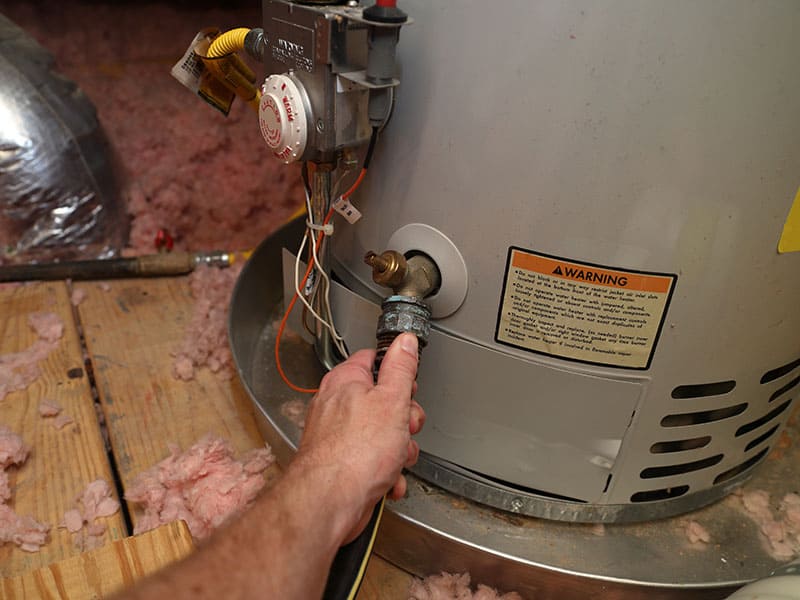
Option 9: Clean The Water Heater
Another thing concerning the water heater is that it can be blocked by mineral build-up or other debris. If it is, flush the hot water tank to get rid of all the debris. Make sure that you have deactivated the power to the heater before doing this.
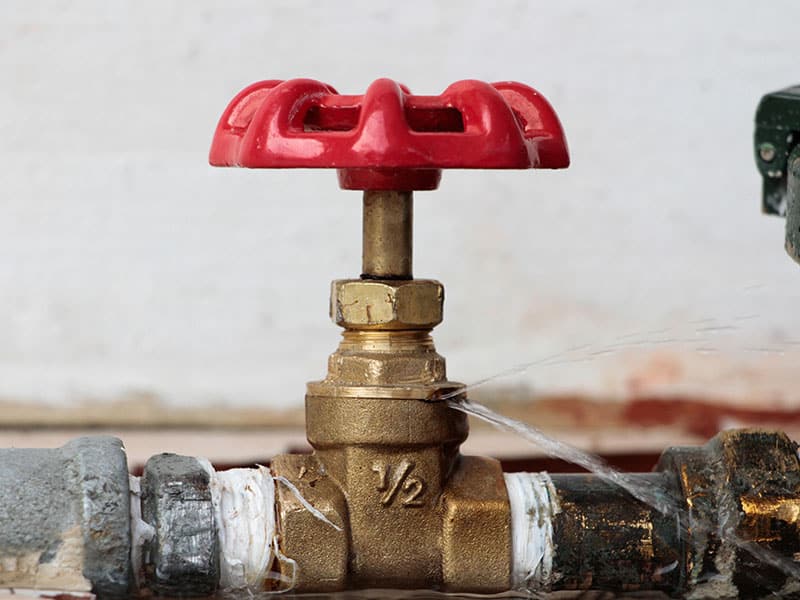
Option 10: Check The Leaks
Don’t bother fixing the leaks on your own because it will be complicated. You can locate the leaks beforehand so that the plumber can quickly repair them. Another tip is to patch the leaks with epoxy putty should the plumber arrive late.
Option 11: Get A Low-Pressure Showerhead
Unfortunately, if you live in areas connected to low-pressure water systems, the chances are that you will have to purchase a low-pressure showerhead. It features fewer holes, so the pressure is increased as water spurts out. It costs just as much as a regular one.
Option 12: Choose The Suitable Combi Boiler
A Combi boiler, short for a combination boiler, is a cross between a water heater and a central heating boiler, saving you plenty of space. The unit will heat and distribute water directly from the mains, so there’s no need to install separate water storage.
With such conveniences, combi boilers have grown in demand recently, especially in many United Kingdom households. Nonetheless, most large houses claim that they experience low water pressure when they run many taps simultaneously.
The solution is simple: consult an expert to determine the appropriate combi boiler that can cope with your house’s demand. A powerful unit should be able to offer a flow rate of at least 12-15 liters per minute.
Option 13: Install A Power Shower
Your shower experience has never been this fulfilling, thanks to the power shower. Its job is to control the water temperature by mixing hot and cold water, but at the same time, it features a built-in pump that boosts the water pressure to a great extent.
Option 14: Install An Electric Shower + Cold Water Accumulator
When hot water is insufficient, weigh up the installation of an electric shower and a cold water tank. When the water from the tank is sent to the head, the shower will heat it with electricity before blasting out of the nozzles.
The mechanisms also help tackle the pressure-dropping issue when someone in your house runs other appliances.
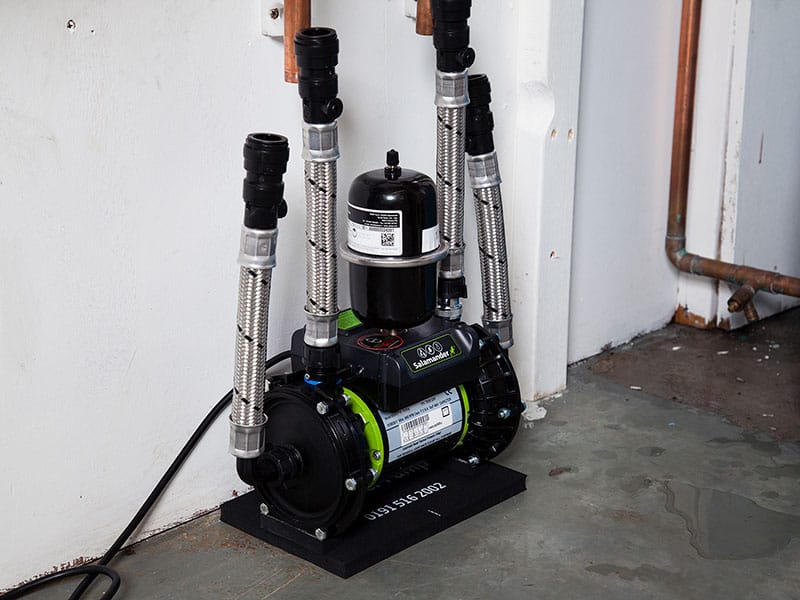
Option 15: Install A Shower Pump
A shower pump does a wonderful job of increasing the water pressure. It is designed to force the water to flow at a much faster rate, ideal for households living in an area where the city water supply fails to provide adequate pressure.
Of course, it’s more expensive than a low-pressure showerhead, and it can generate noise occasionally. Moreover, you will have to pay an extra amount for installation. Take these factors into consideration before you make the final decision.
Option 16: Install A Pressurized Unvented Cylinder
An unvented cylinder is a tank that keeps water heated by gas or electricity. This causes the water to expand, creating pressure within the cylinder and improves the shower performance. The cost, however, can be three times higher than the pressure booster.

Option 17: Avoid Taking Showers During Peak Hours
Here’s an alternative that costs you no money at all: taking showers when the water demand is not high. During peak periods, you will realize that the pressure is usually not great, and this is particularly true when you live in a densely populated neighborhood.
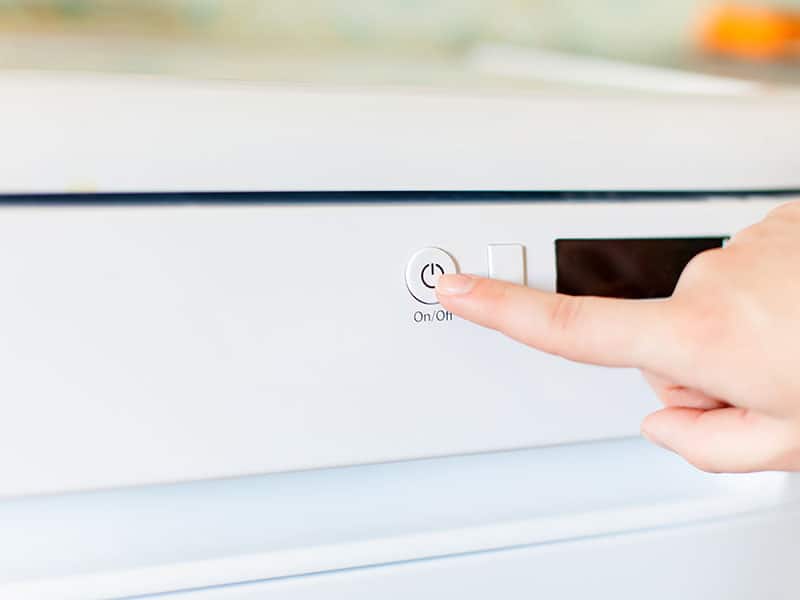
Option 18: Turn Off Other Appliances As You Take A Shower
This option won’t charge you a penny as well, but it is rather inconvenient. Before you get into the shower, turn off other appliances that demand water to run, such as the washing machine or dishwasher.
Note: If someone in your house flushes the toilet, the water pressure will temporarily reduce but not for long. Therefore, don’t tell your family to avoid using the toilet as you are showering – it’s too much!
When The Issue Gets Out Of Hand – Call A Plumber
Suppose these measures don’t work or cause further troubles, my sensible advice is to seek an experienced plumber to address the issue right away. In certain situations, the only solution to the problem is rerouting the plumbing. The job usually involves knocking down the wall, replacing the pipes, and more, so make sure to put some thought and carefully weigh your budget before making the final decision.
FAQs
As usual, the following section will cover some common questions that you may have. Don’t skip it, or you’ll regret it!
Escape The Pressure Of Having Low Water Pressure
And that’s it, my friend, how to increase water pressure in the shower without difficulties. Of course, it’s a good idea to try turning the valves or cleaning the showerhead first before moving on to the other solutions. You don’t want your money down the drain, do you?
I hope you find this post helpful, and I’m positive that you can increase the water pressure in your shower without having to call in the plumber. Provided that you have more questions, comment below, and I’ll try to answer right away. Break a leg!